Andromeda Build Guide
Pages
Andromeda Build Guide - Page 2
Preparing the case
Let’s begin with the case.
-
Remove the components from the box if not already done.
-
Of the two supplied hex keys, use the smaller one to unscrew the case screws.
-
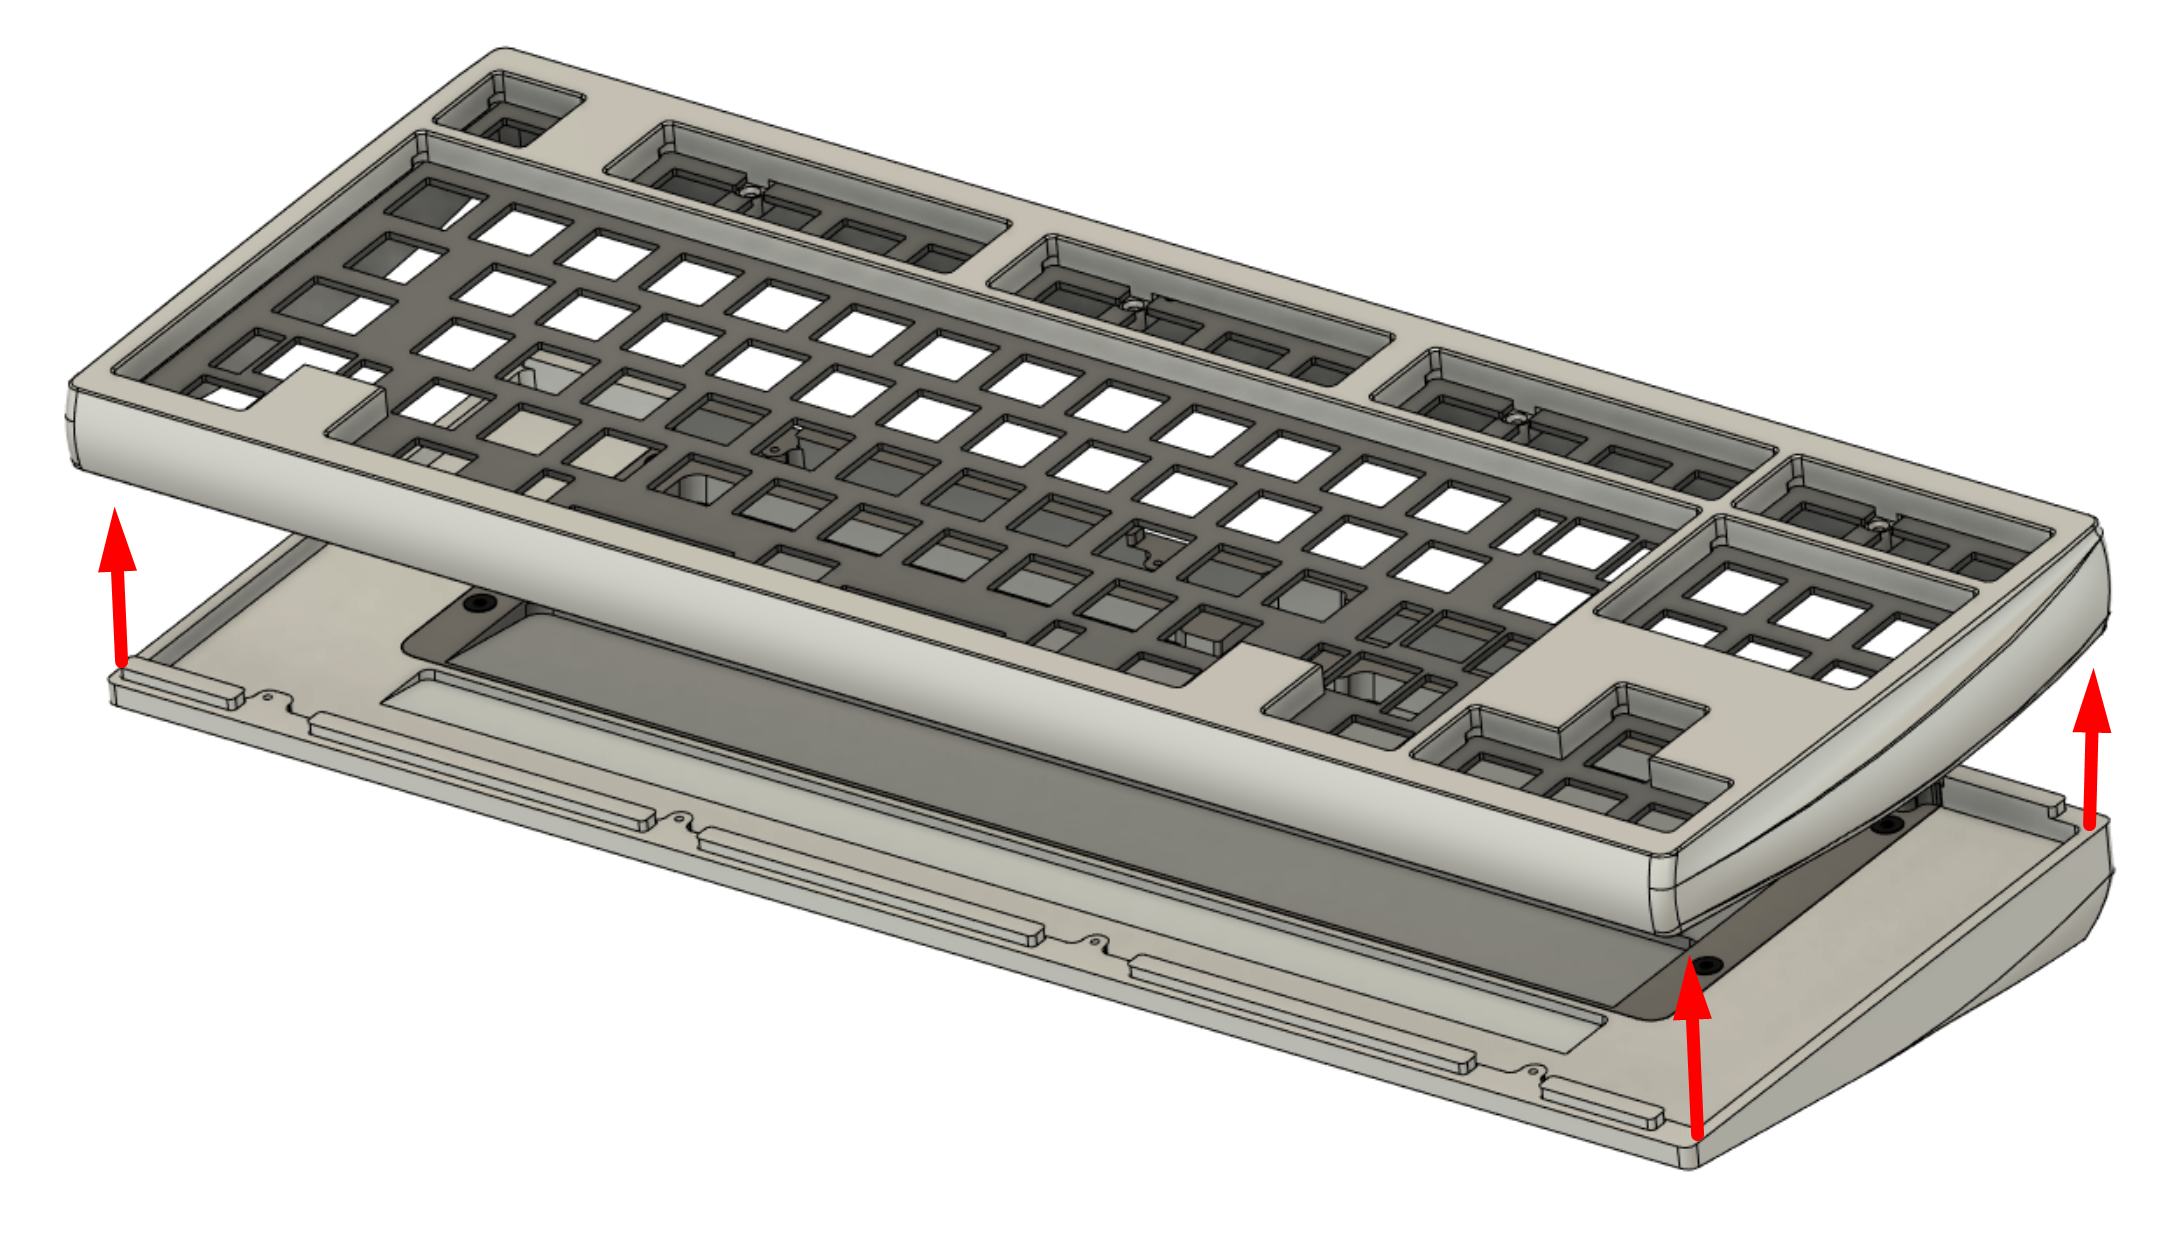
Remove the top case half, and flip it upside down.
-
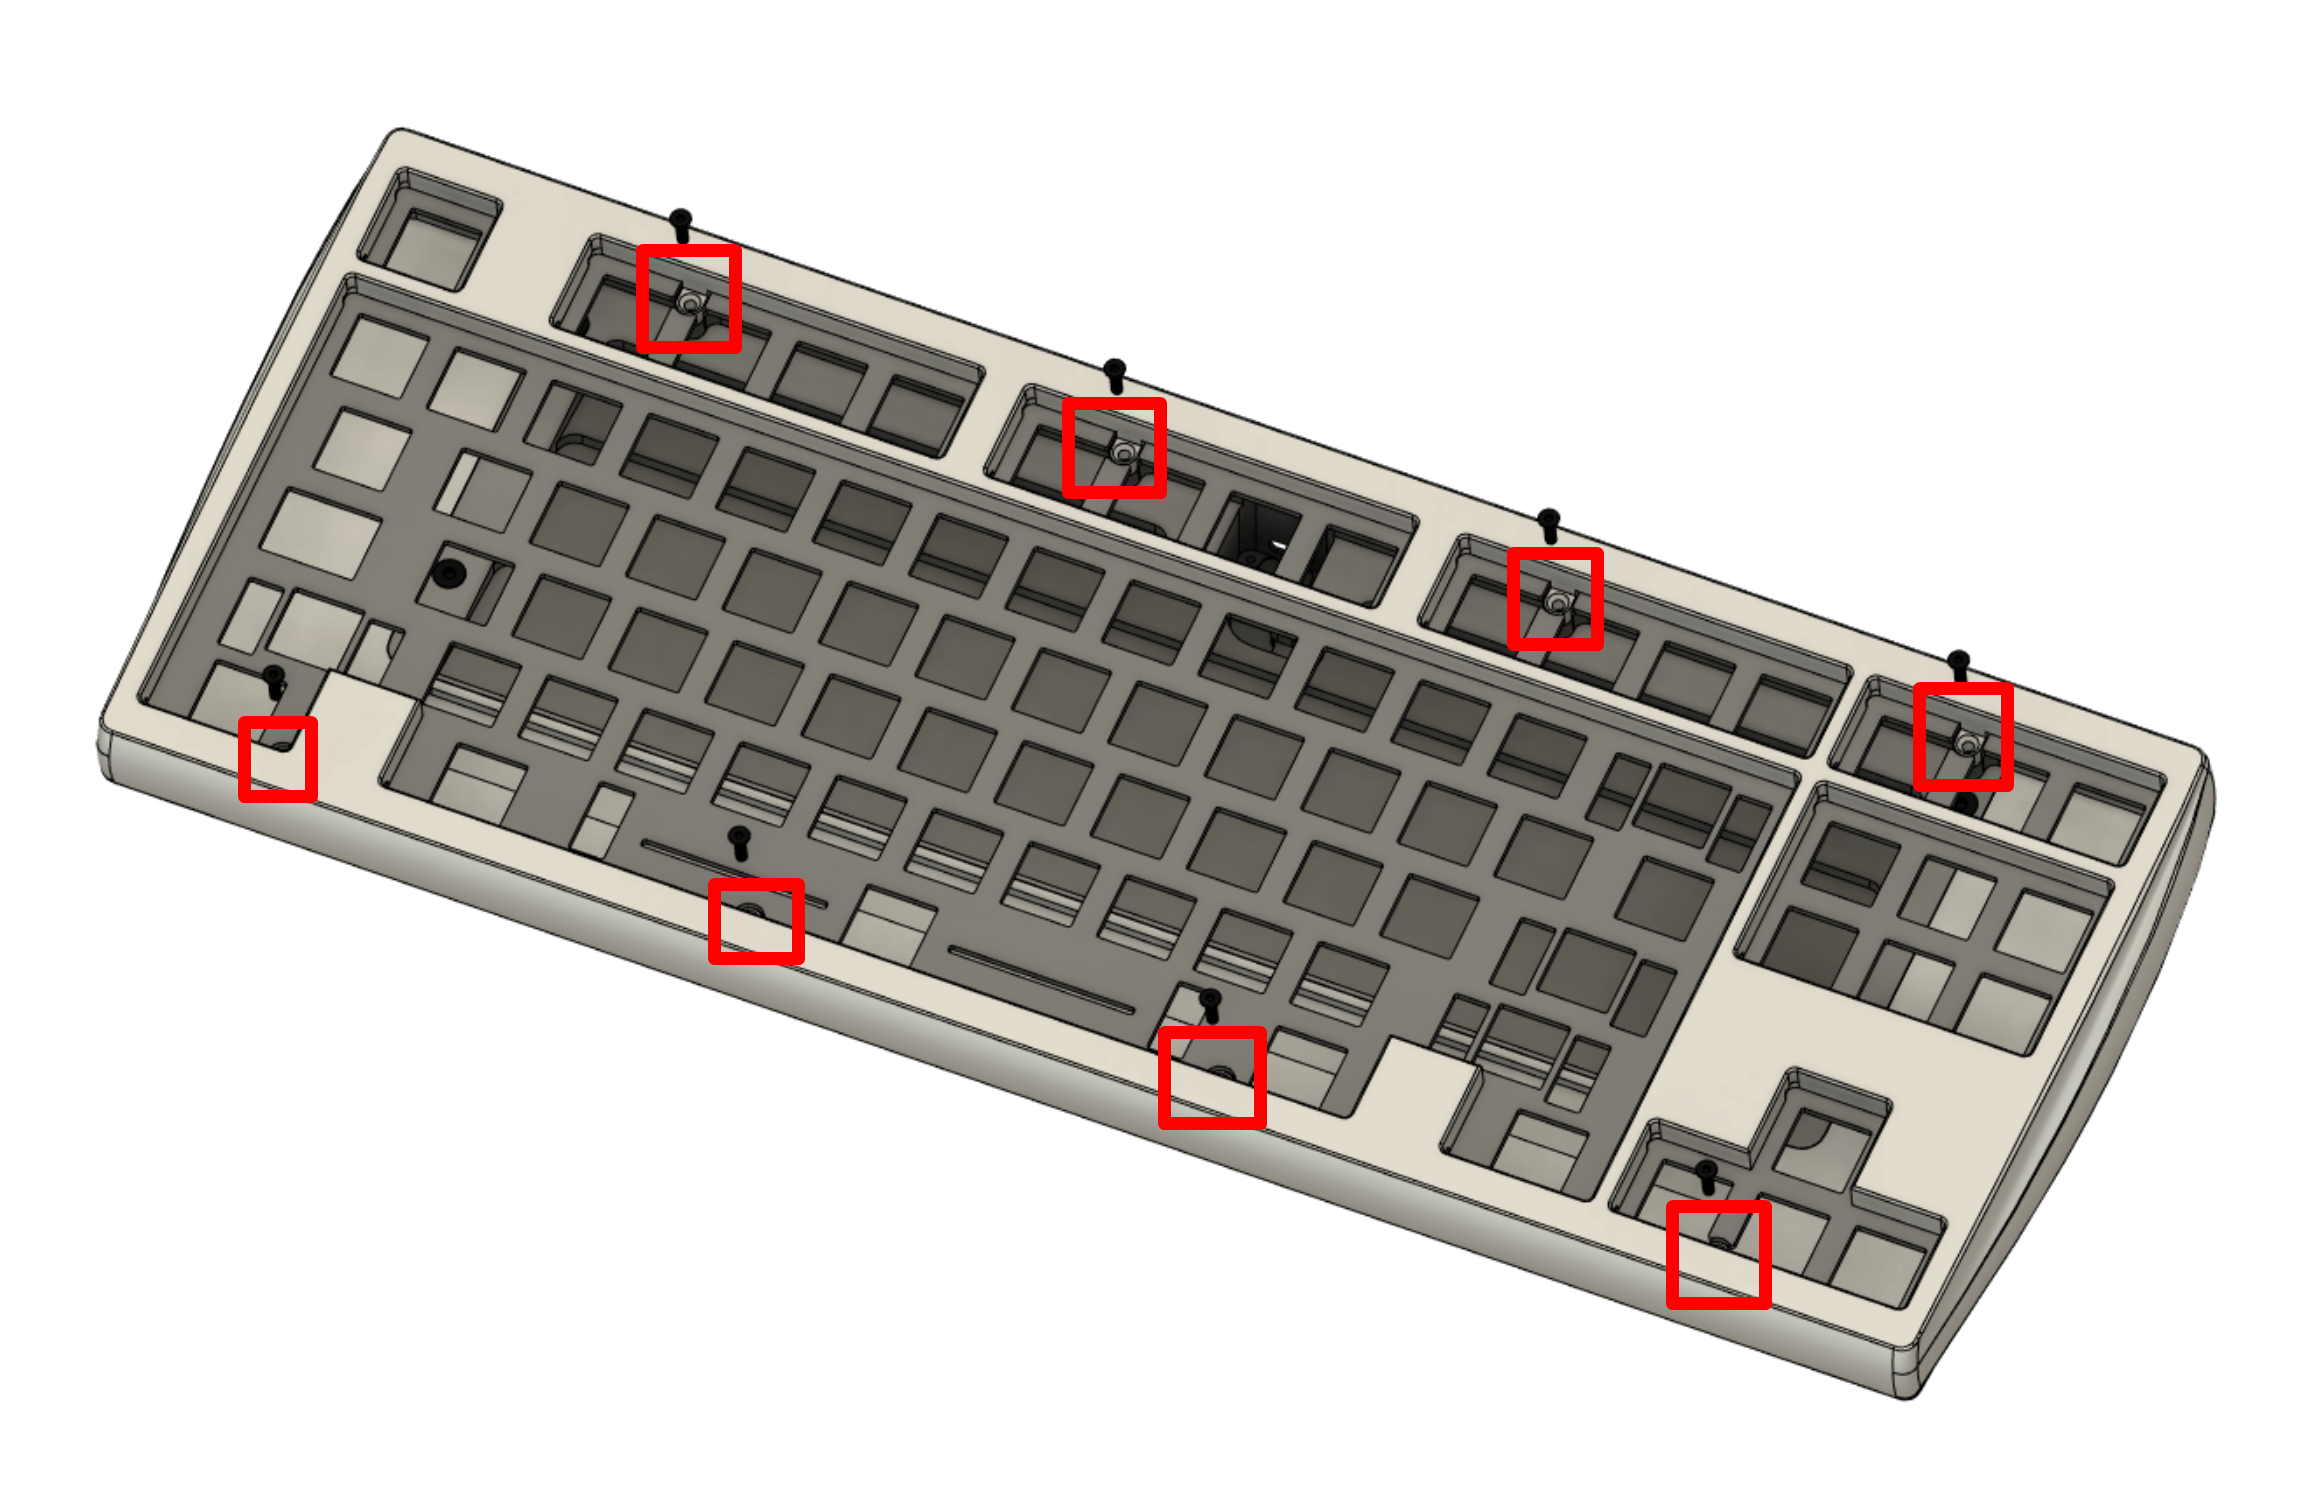
Unscrew and remove the temporary plate screws.
-
Remove the plate from the case top half.

-
At this point, the case should be disassembled enough for switch installation.
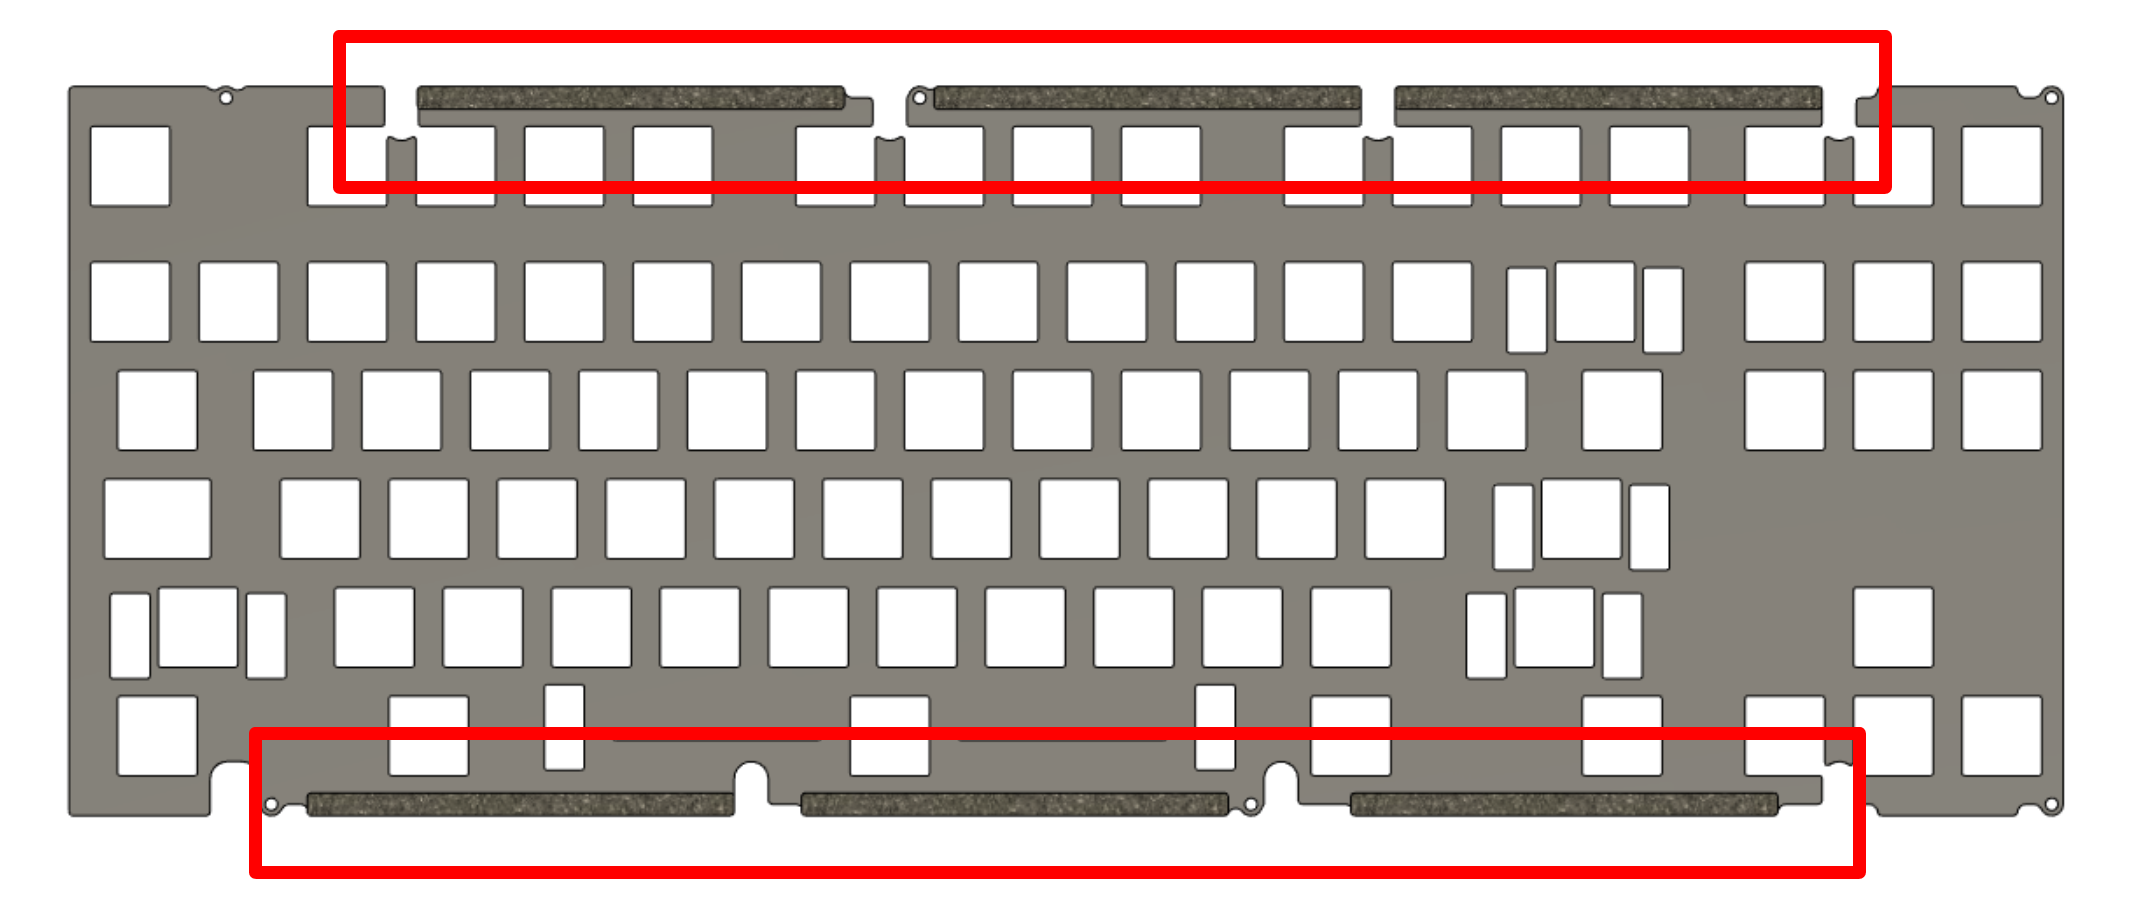
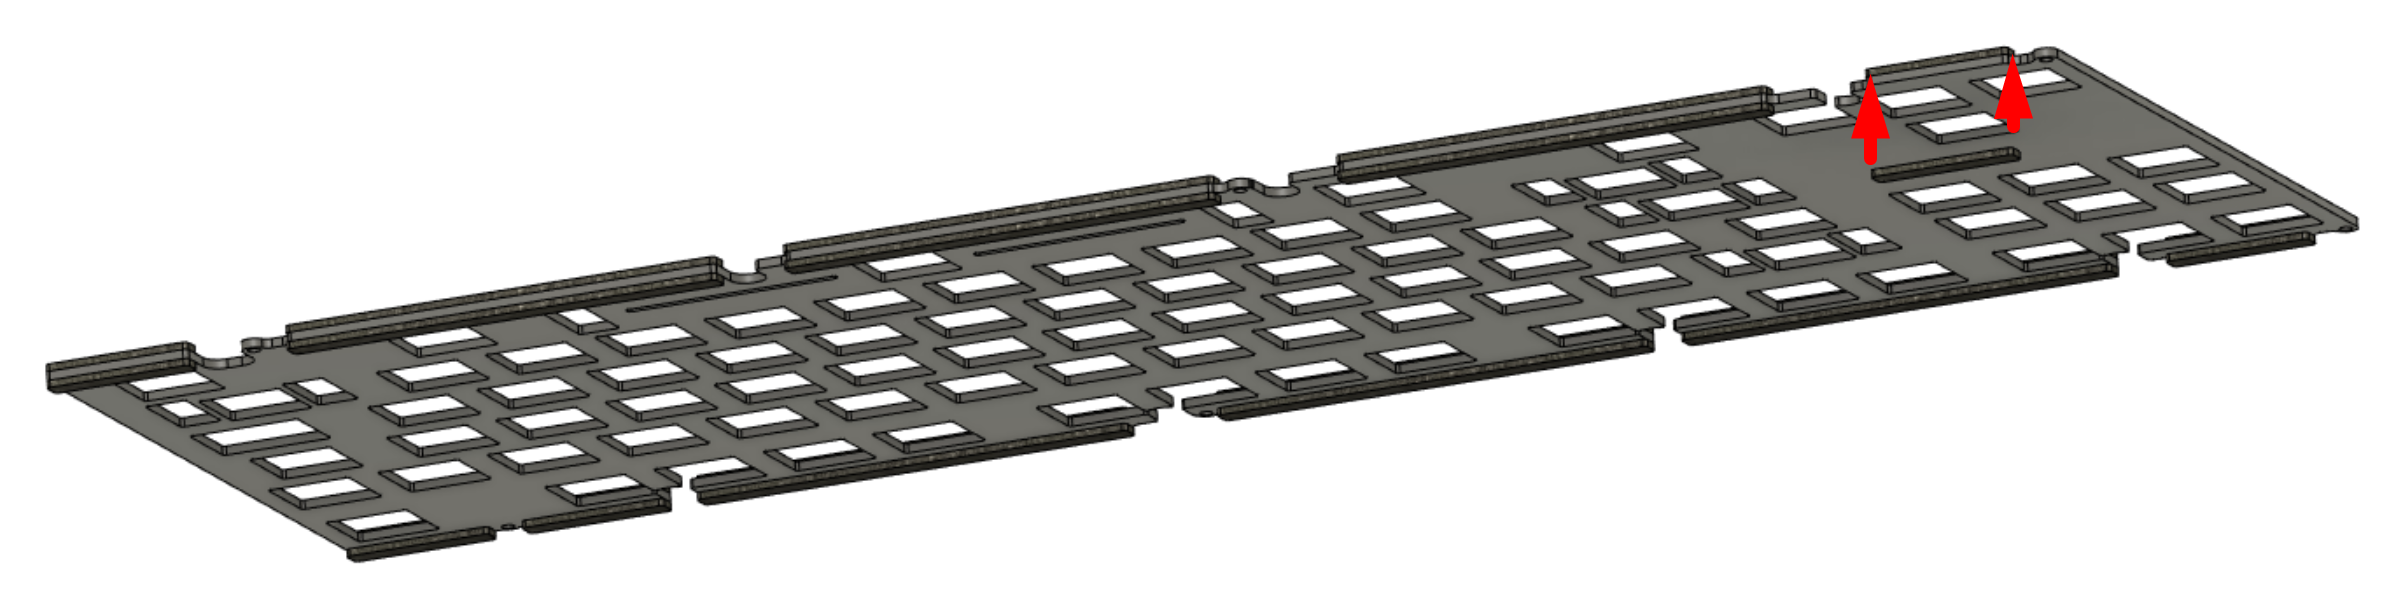
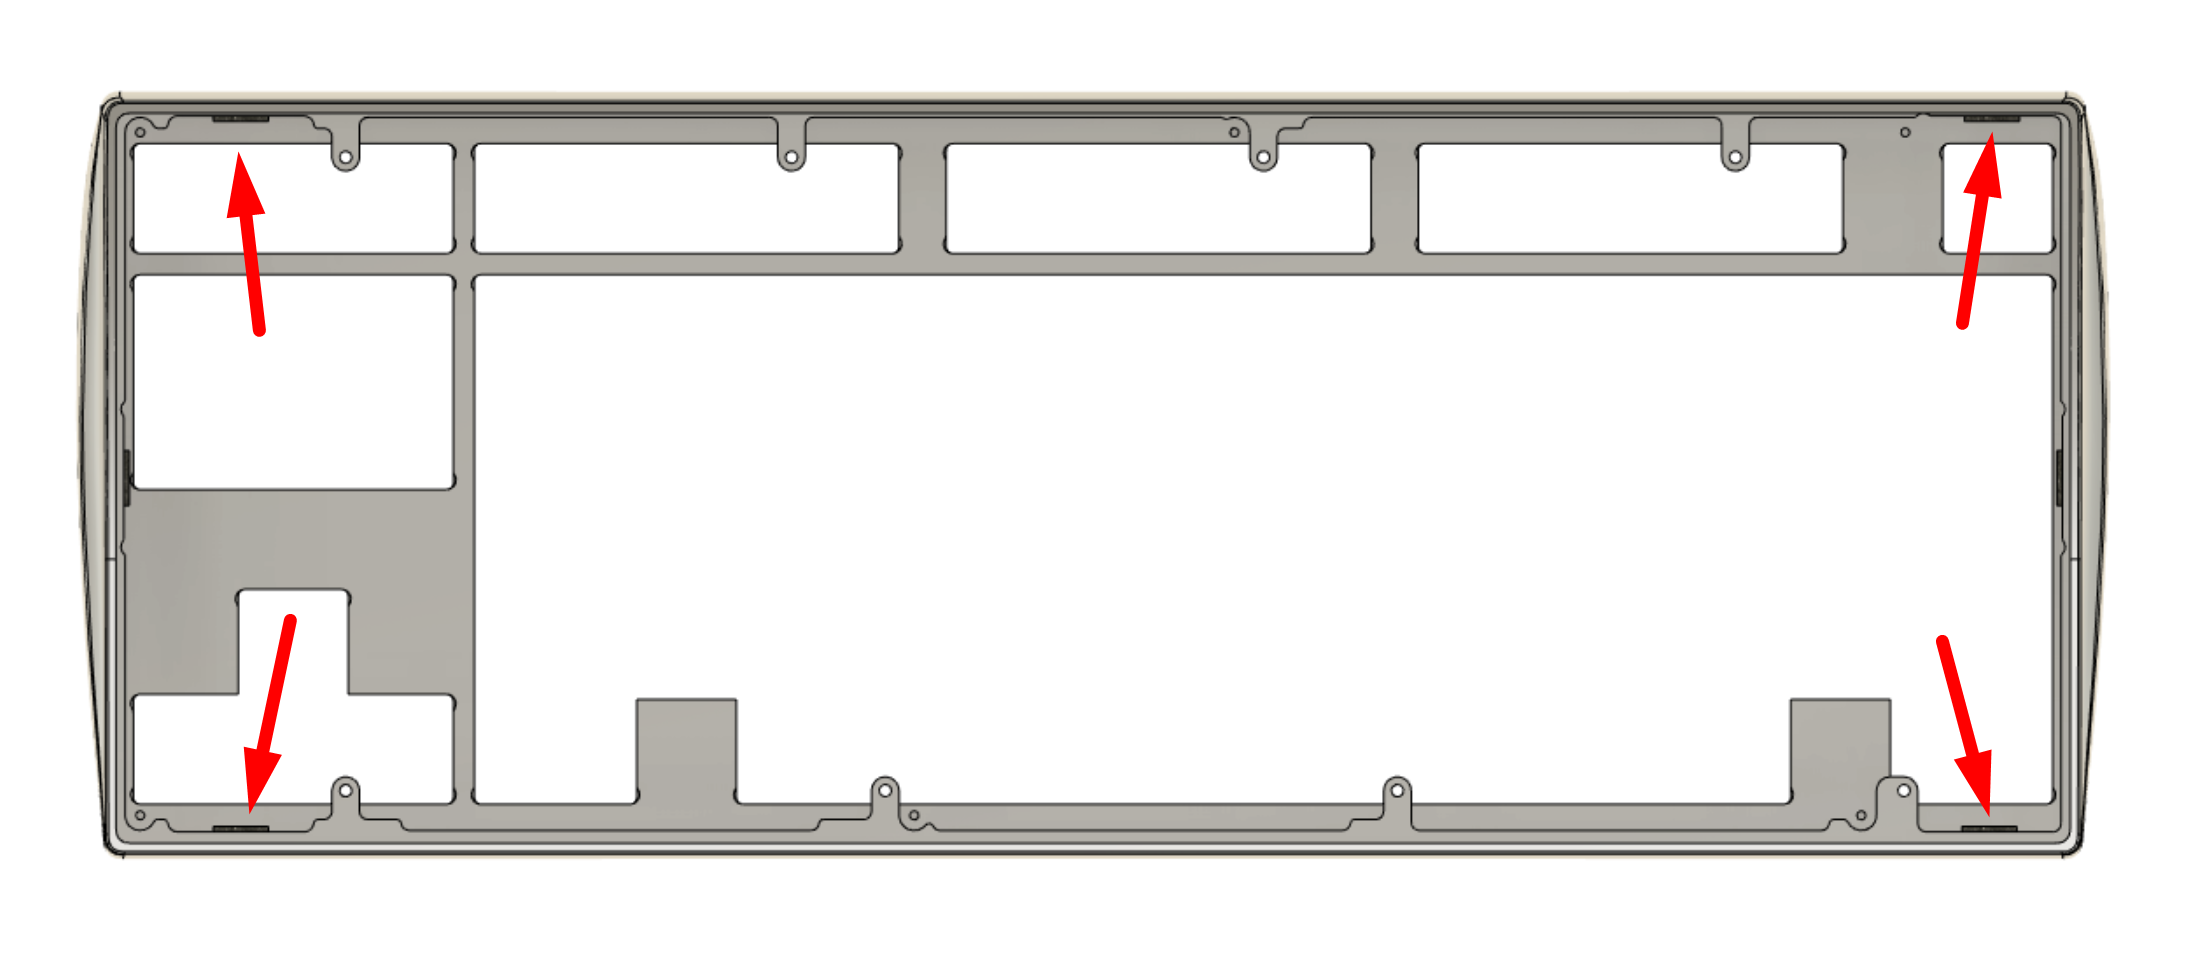
Prepare the plate and adhesive gaskets.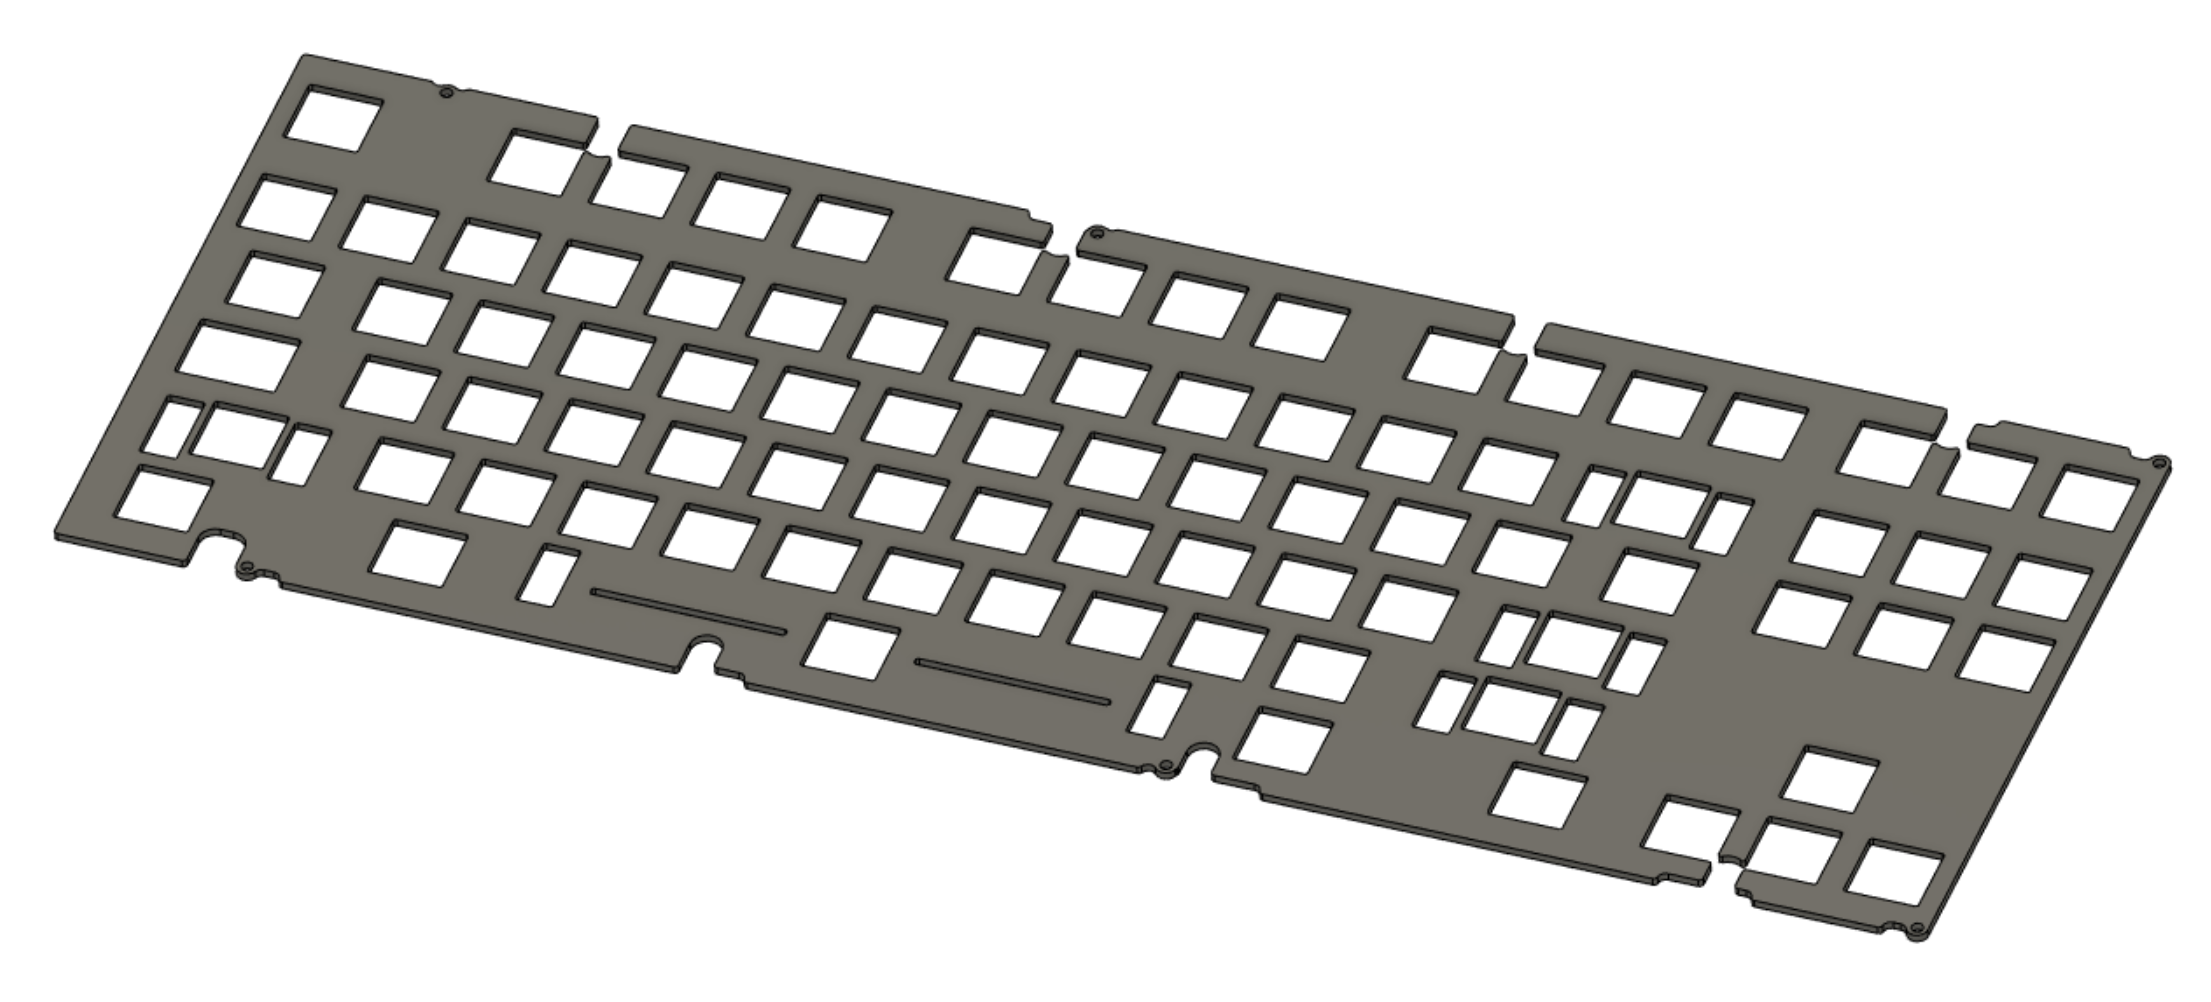
-
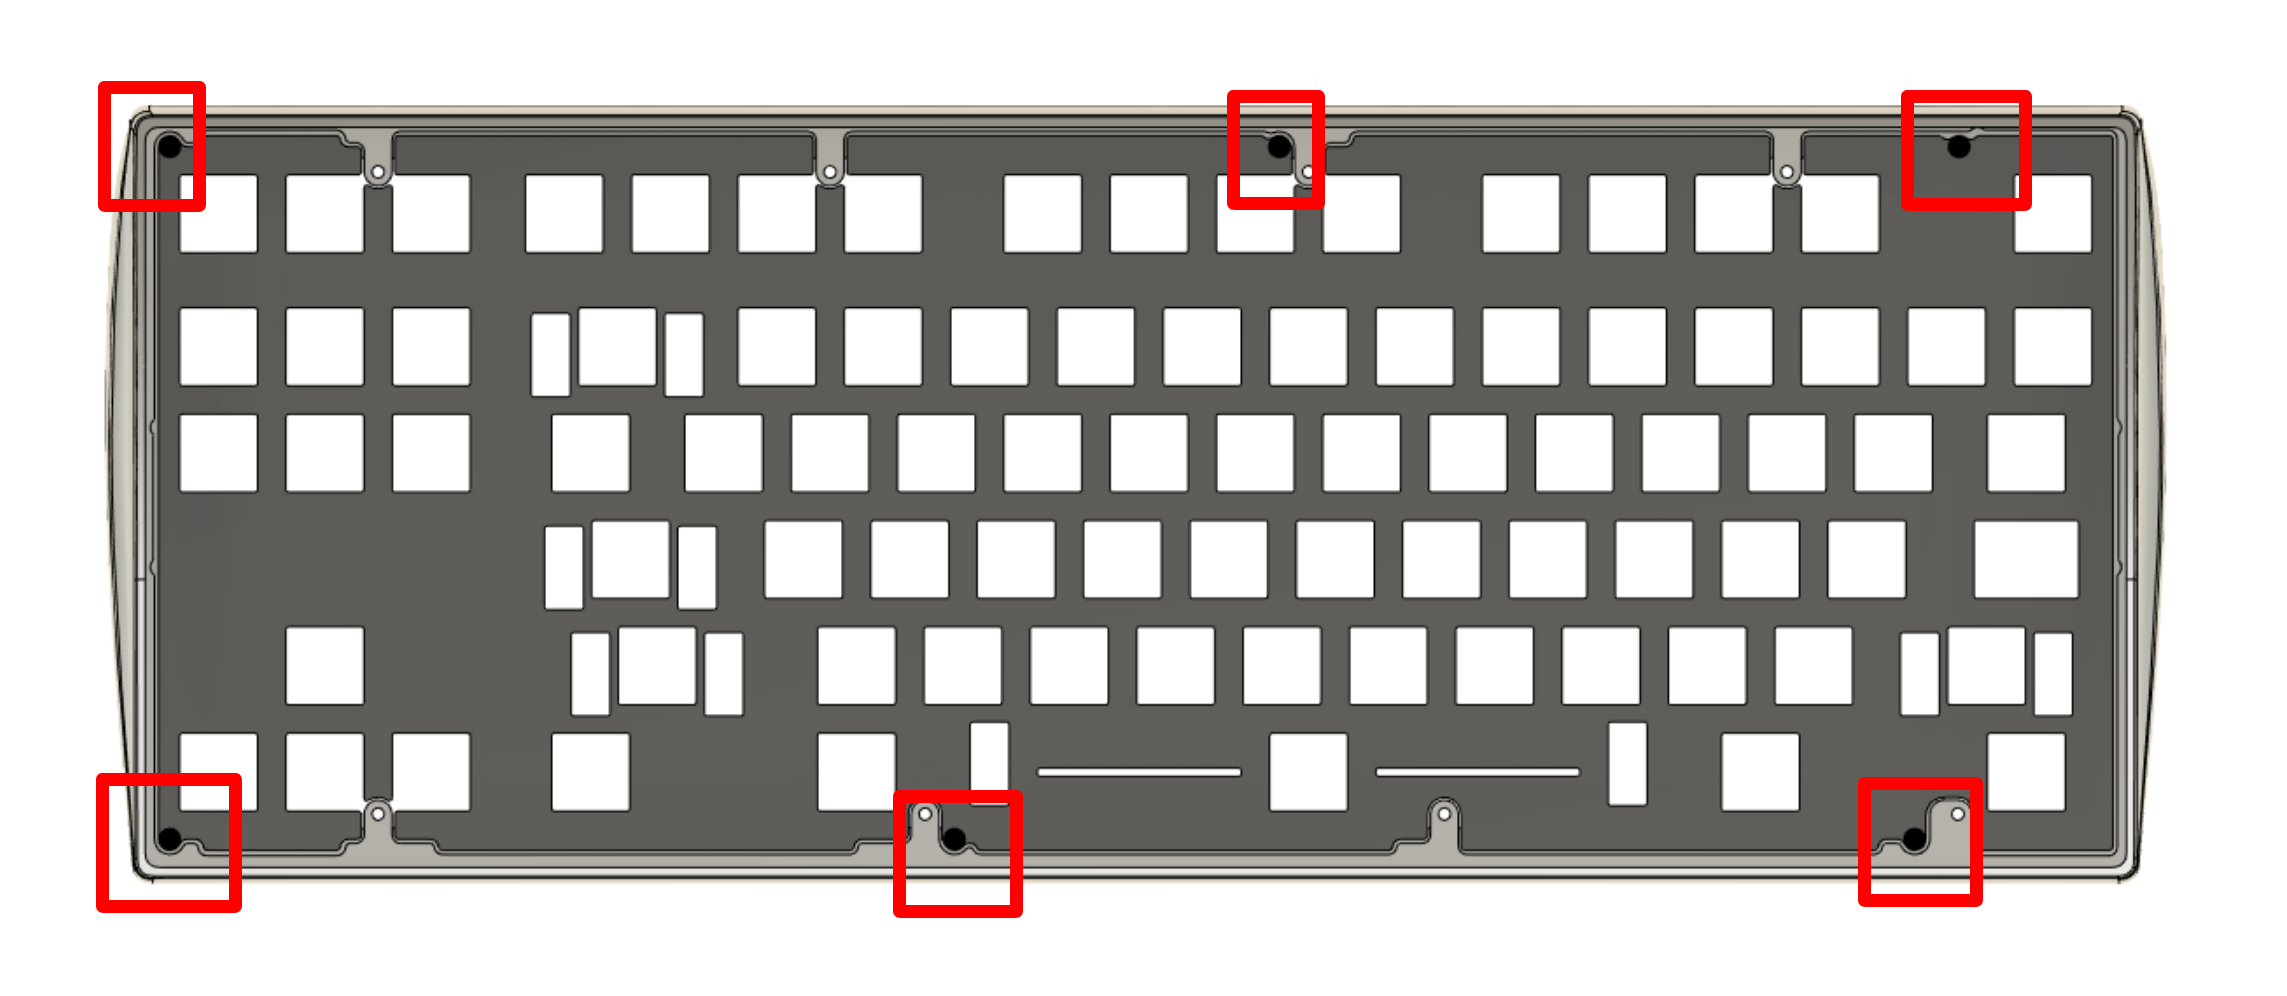
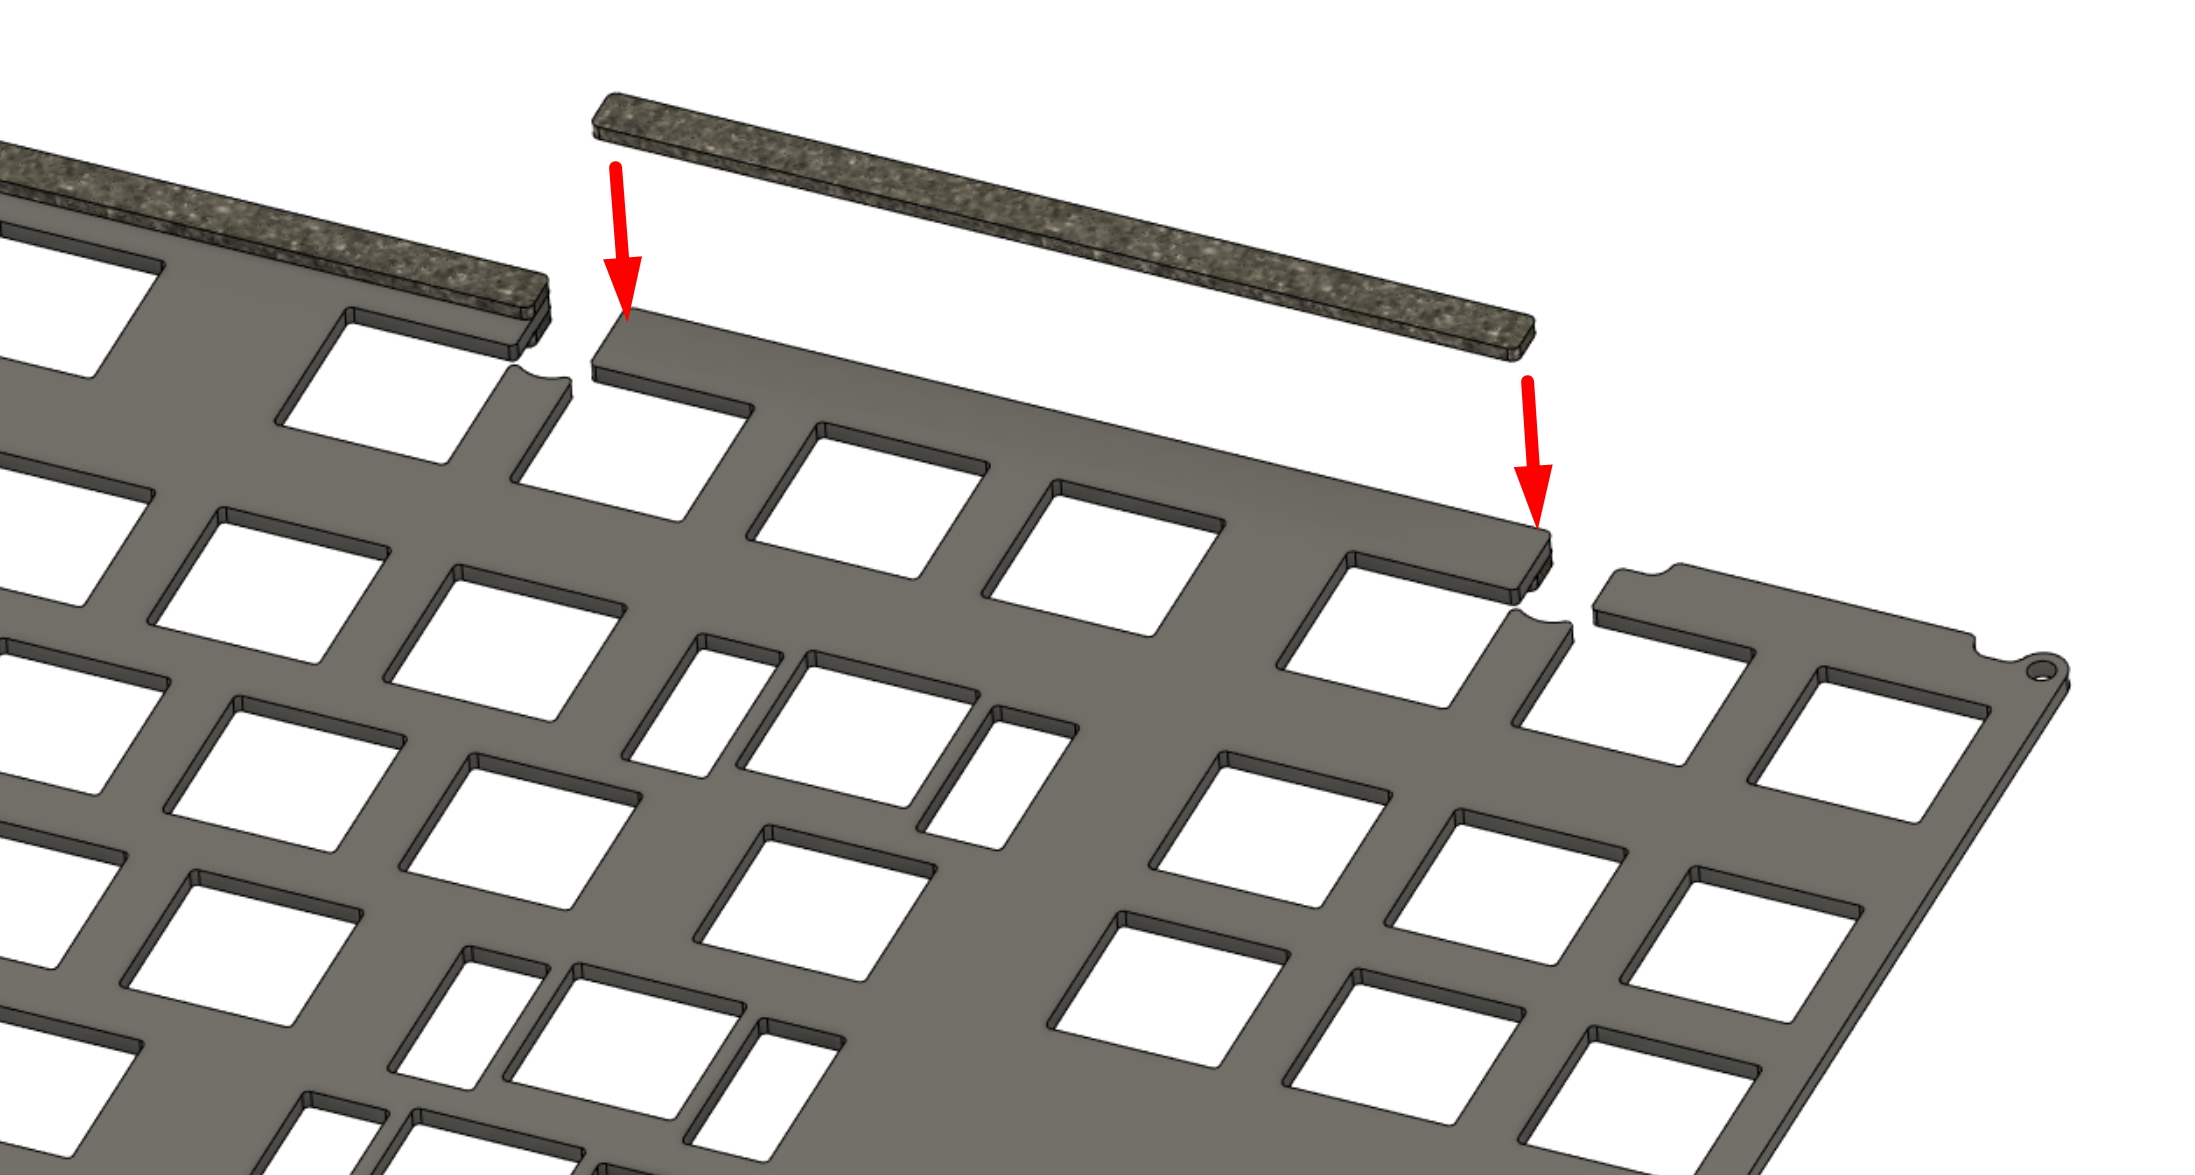
Carefully place 6 of the long gaskets onto the plate, one per tab.
Note: For the minority who are planning on using aftermarket custom plates, install these gaskets on the case area where the plate tabs overlap; this applies to all gasket steps. For specific warnings and instructions, see here.
-
Repeat on the underside; there should be 12 gaskets installed at the end of this step.
-
Now prepare the sheet of shorter gaskets.
Carefully place 5 of these on the marked tabs.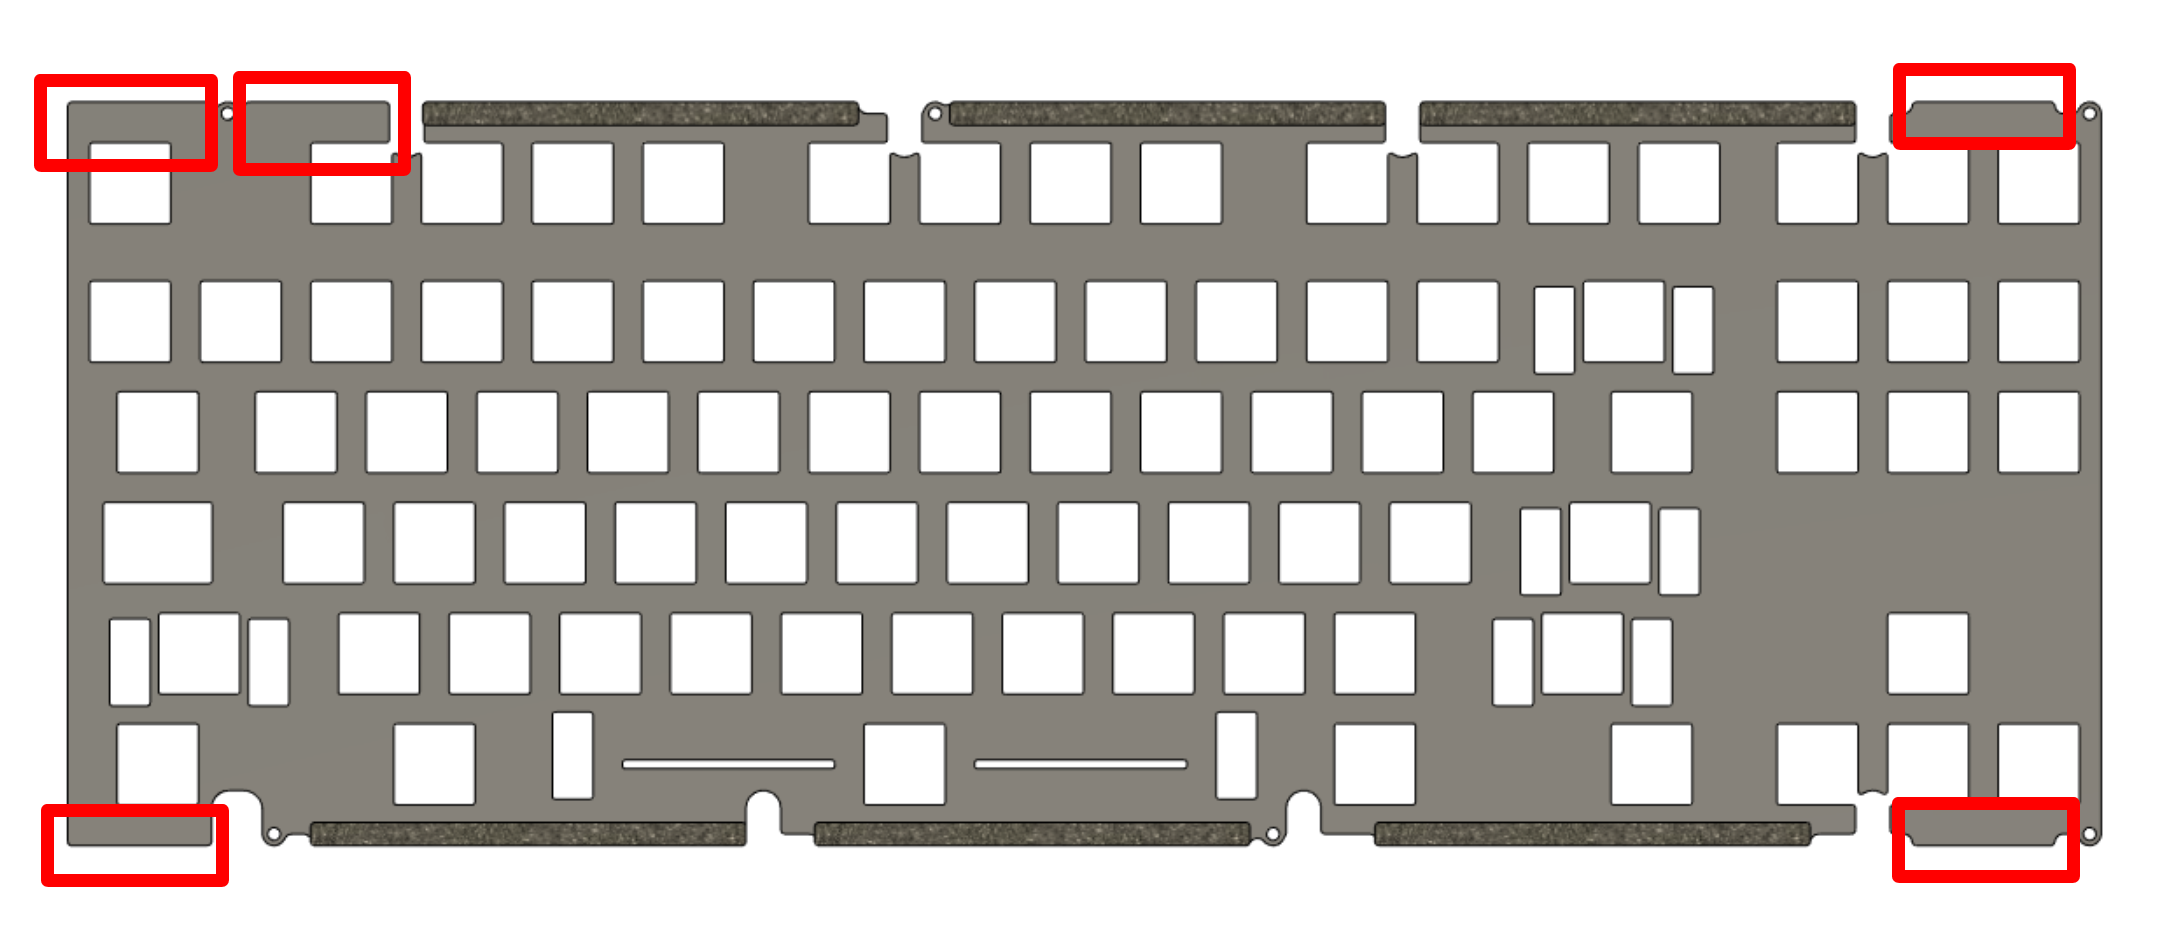
-
Repeat the process on the underside; there should be 22 total gaskets installed at the end of this step.
-
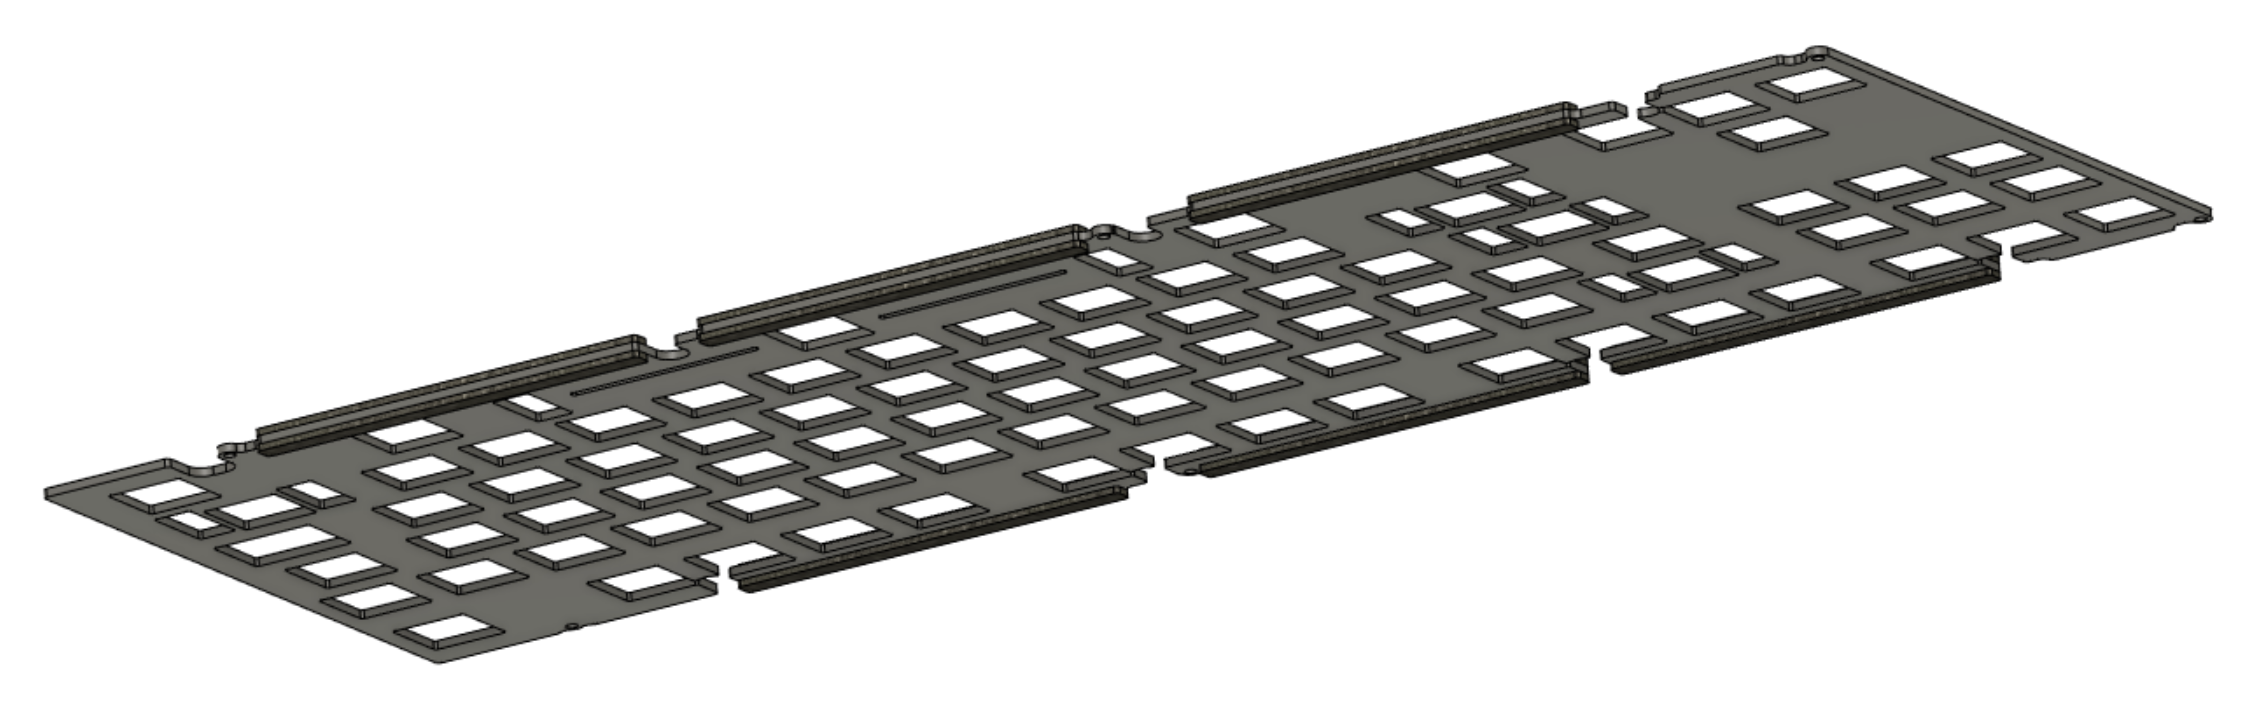
Set the completed plate aside.
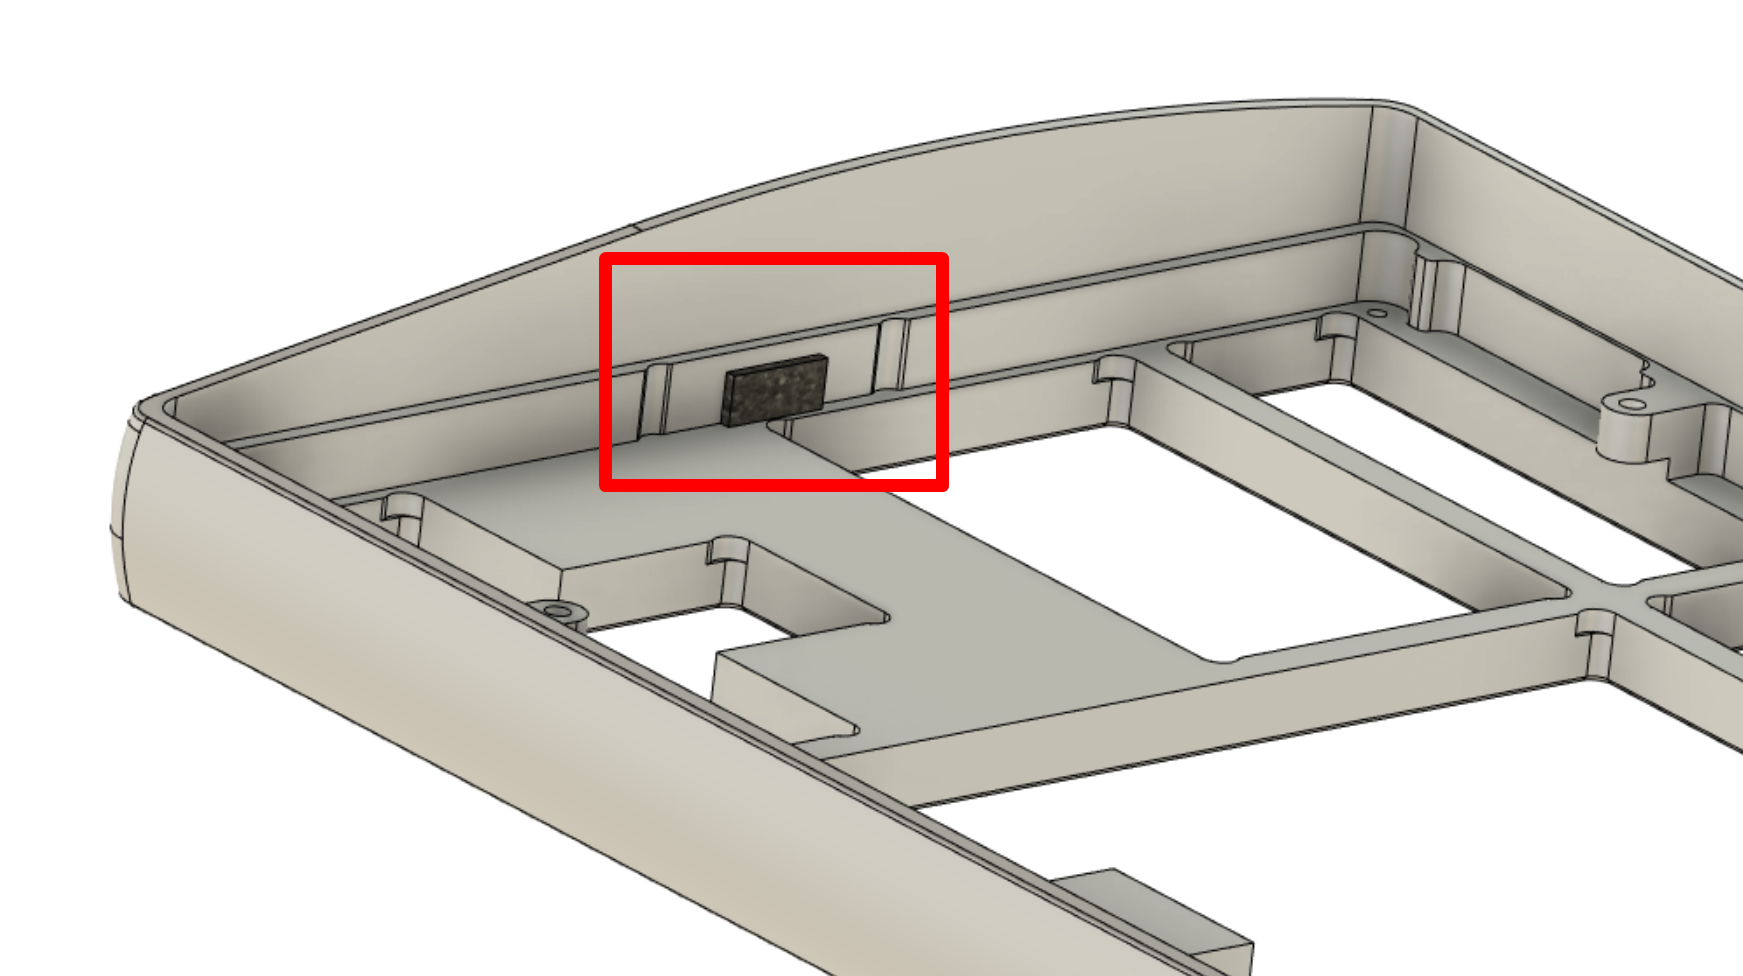
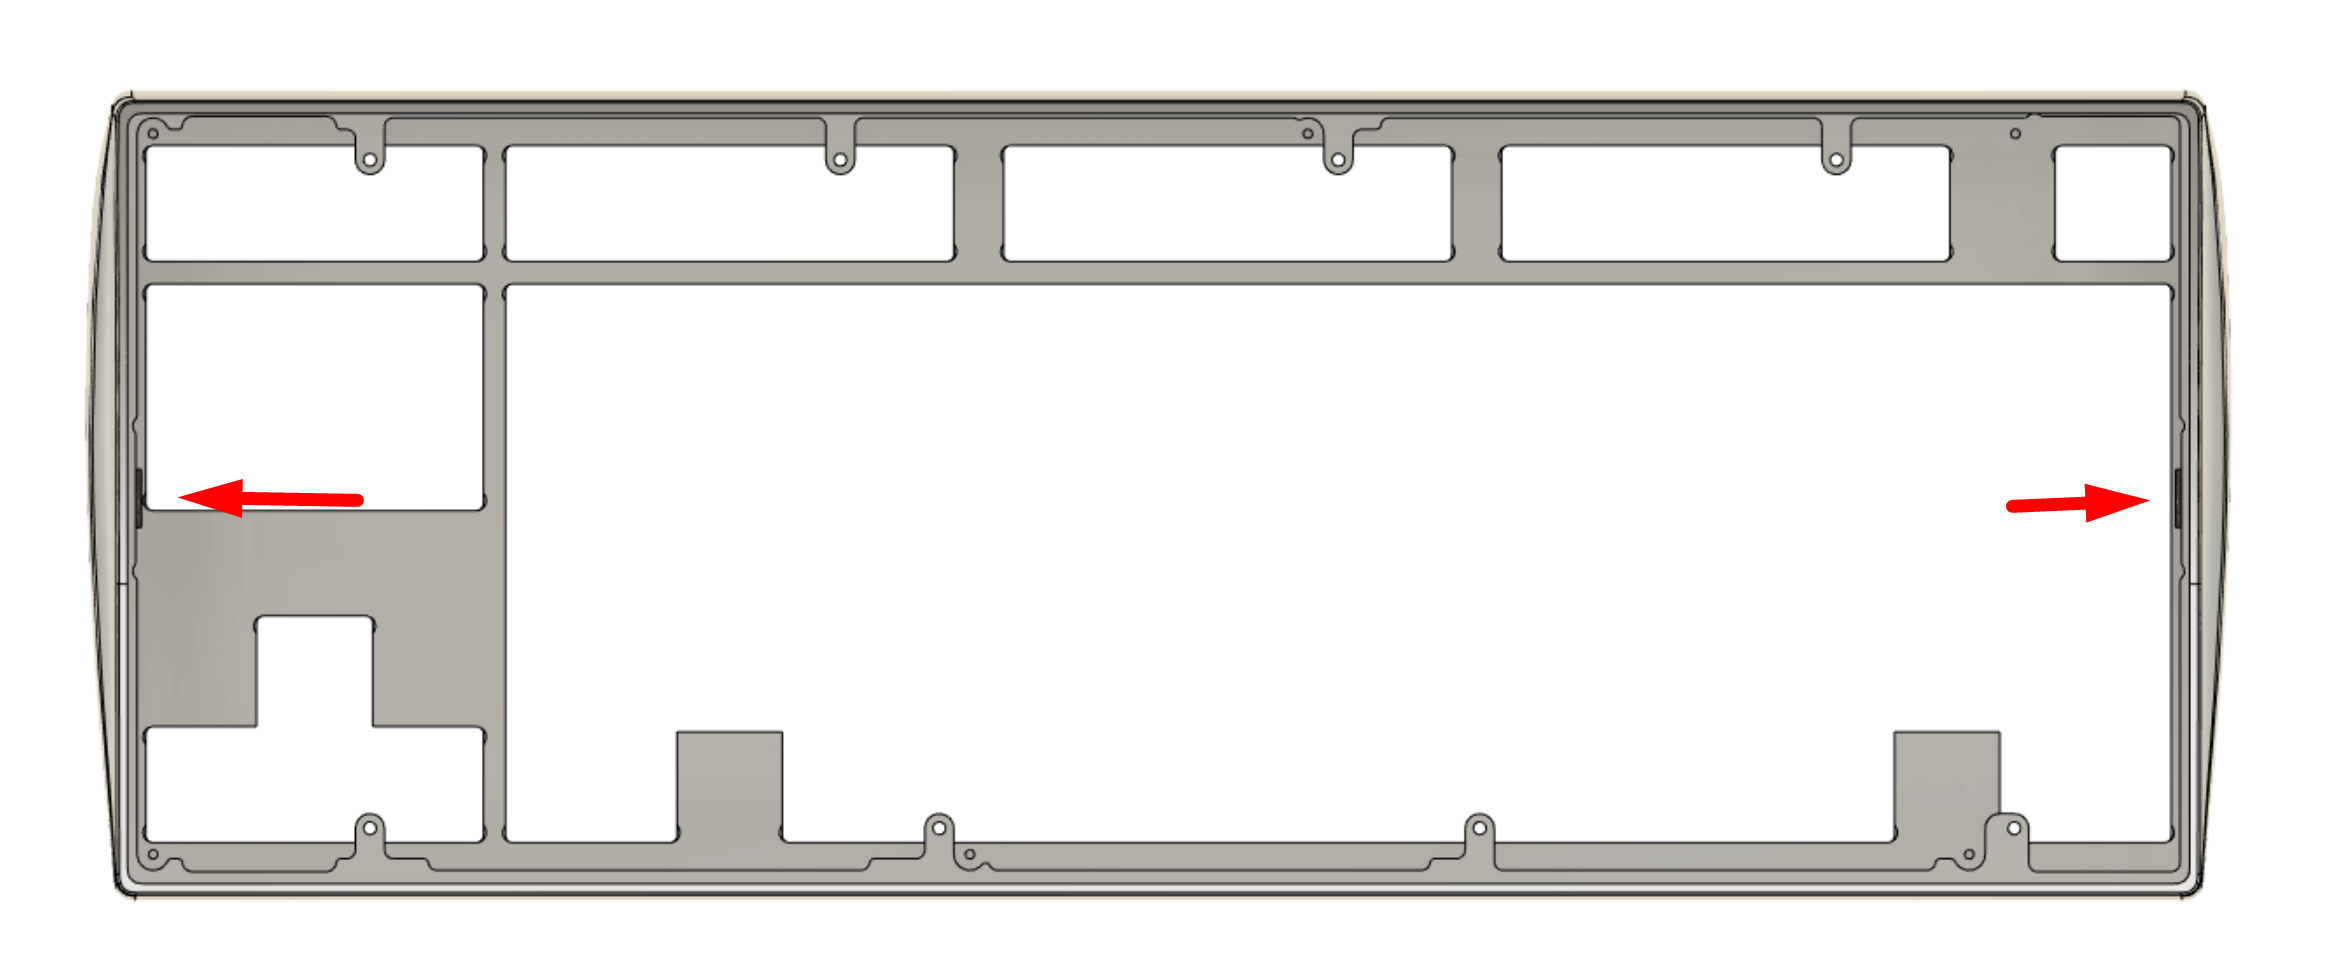
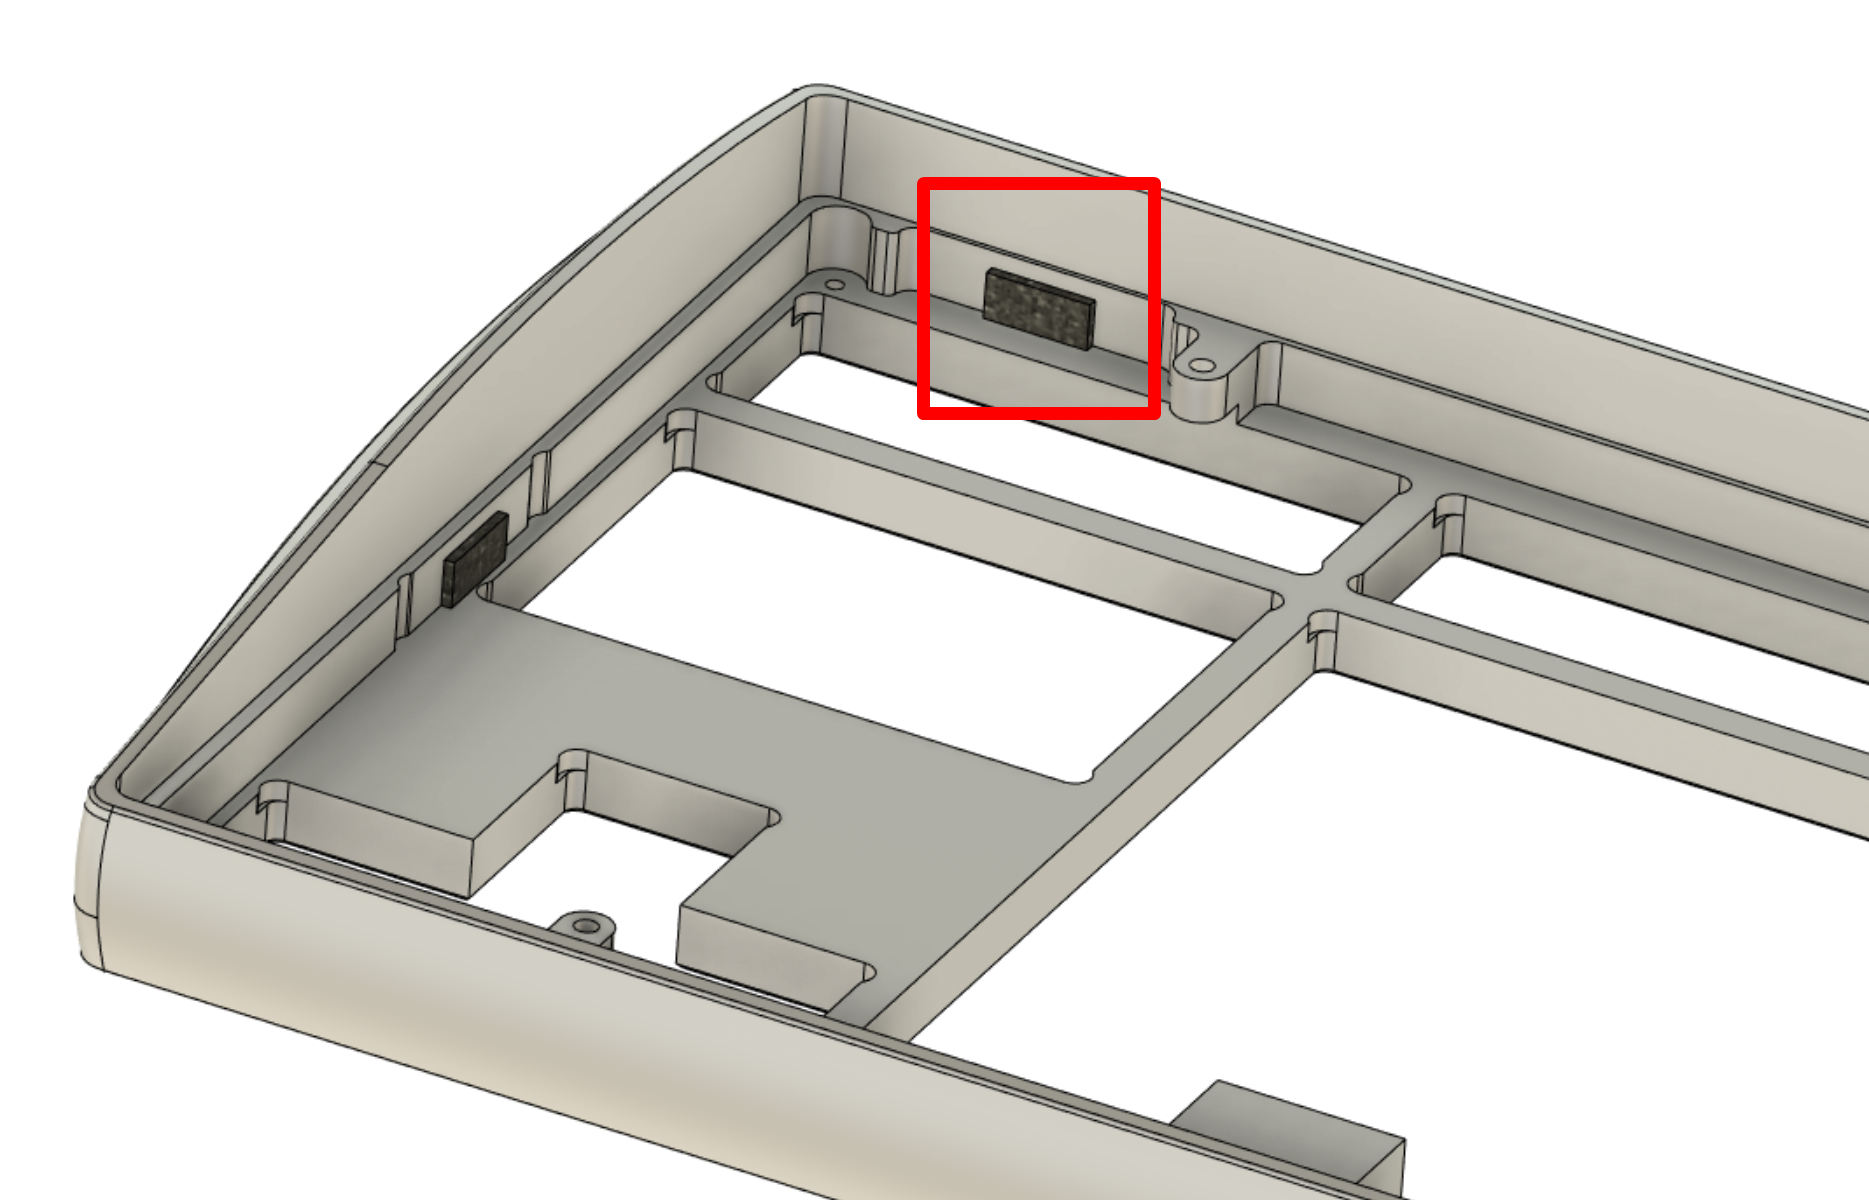
Prepare the case top half and the small rectangular gaskets.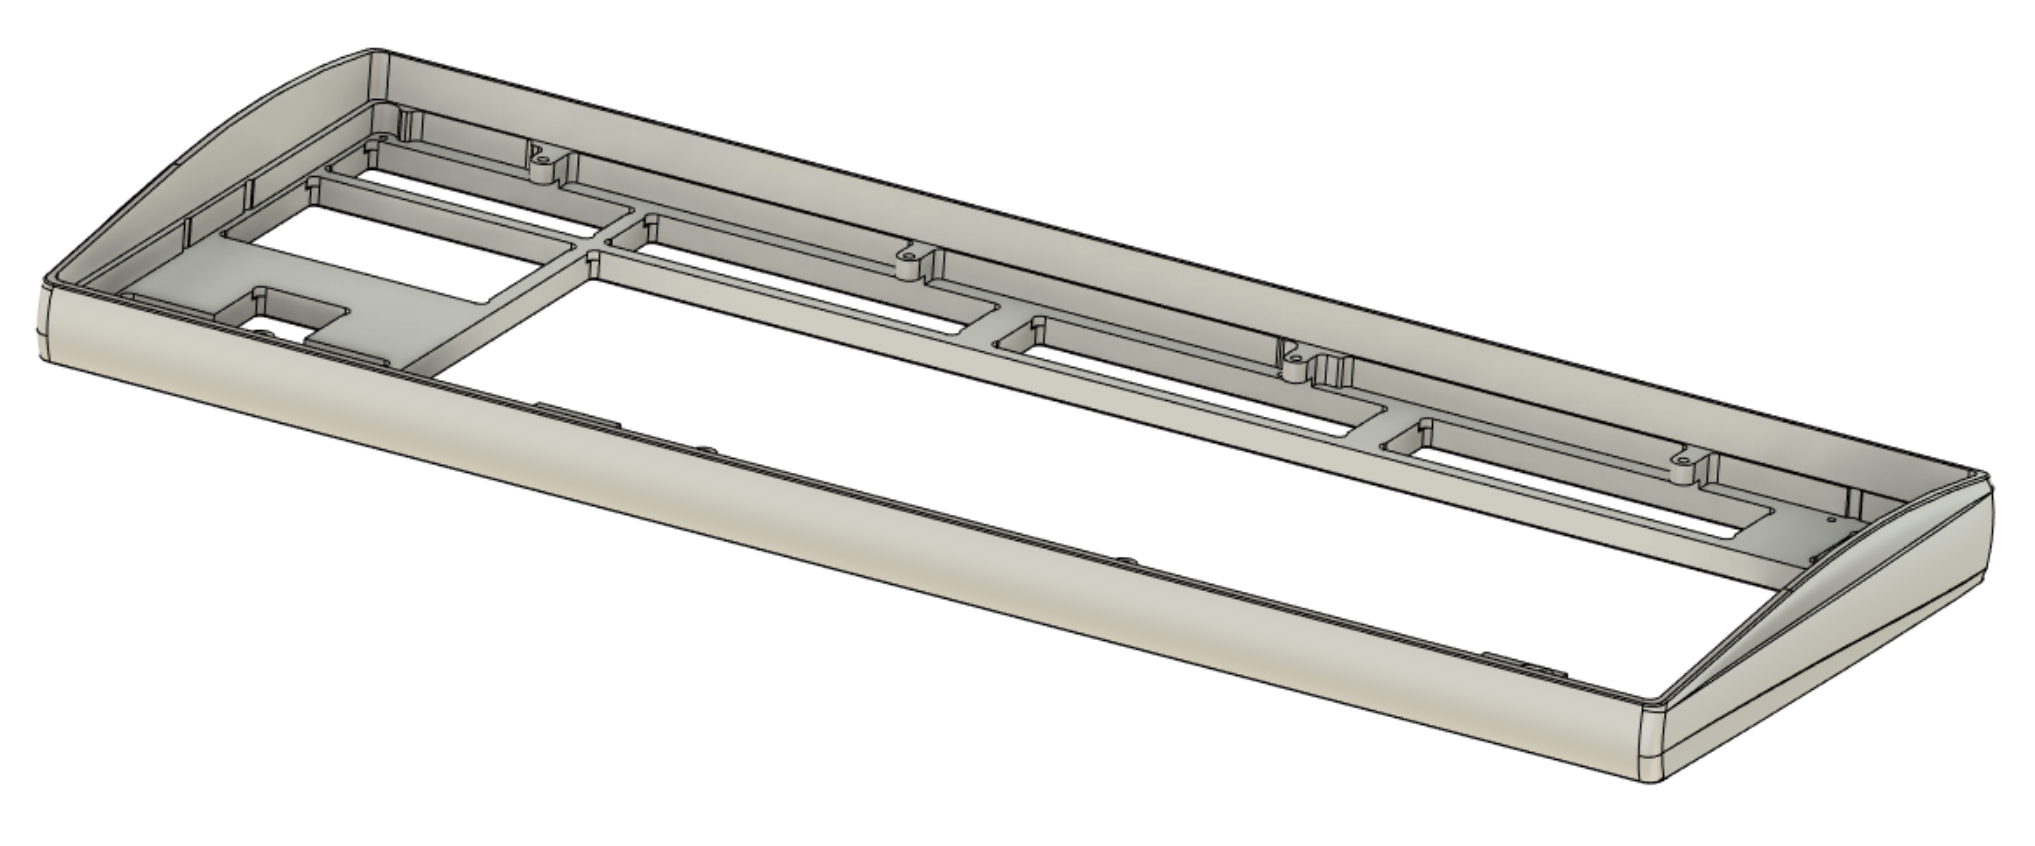
-
Place a rectangular gasket horizontally between the marked indents on the side as shown.
Repeat on both sides.
-
Install four more of these rectangular gaskets in the corner wells as shown, one per corner.
By the end of this step, the top case half is complete and ready for assembly.
Set the top half aside. -
Prepare the bottom case half.
Install the provided rubber feet into the inserts.
The case is now fully prepared for assembly.
Now it is time to assemble the internals.