How to Keyboard
Pages
How to Keyboard - Page 3
Making the switch
The keyboard switch determines the typing experience - it controls the weight, feel, and sound of the typing for each key.
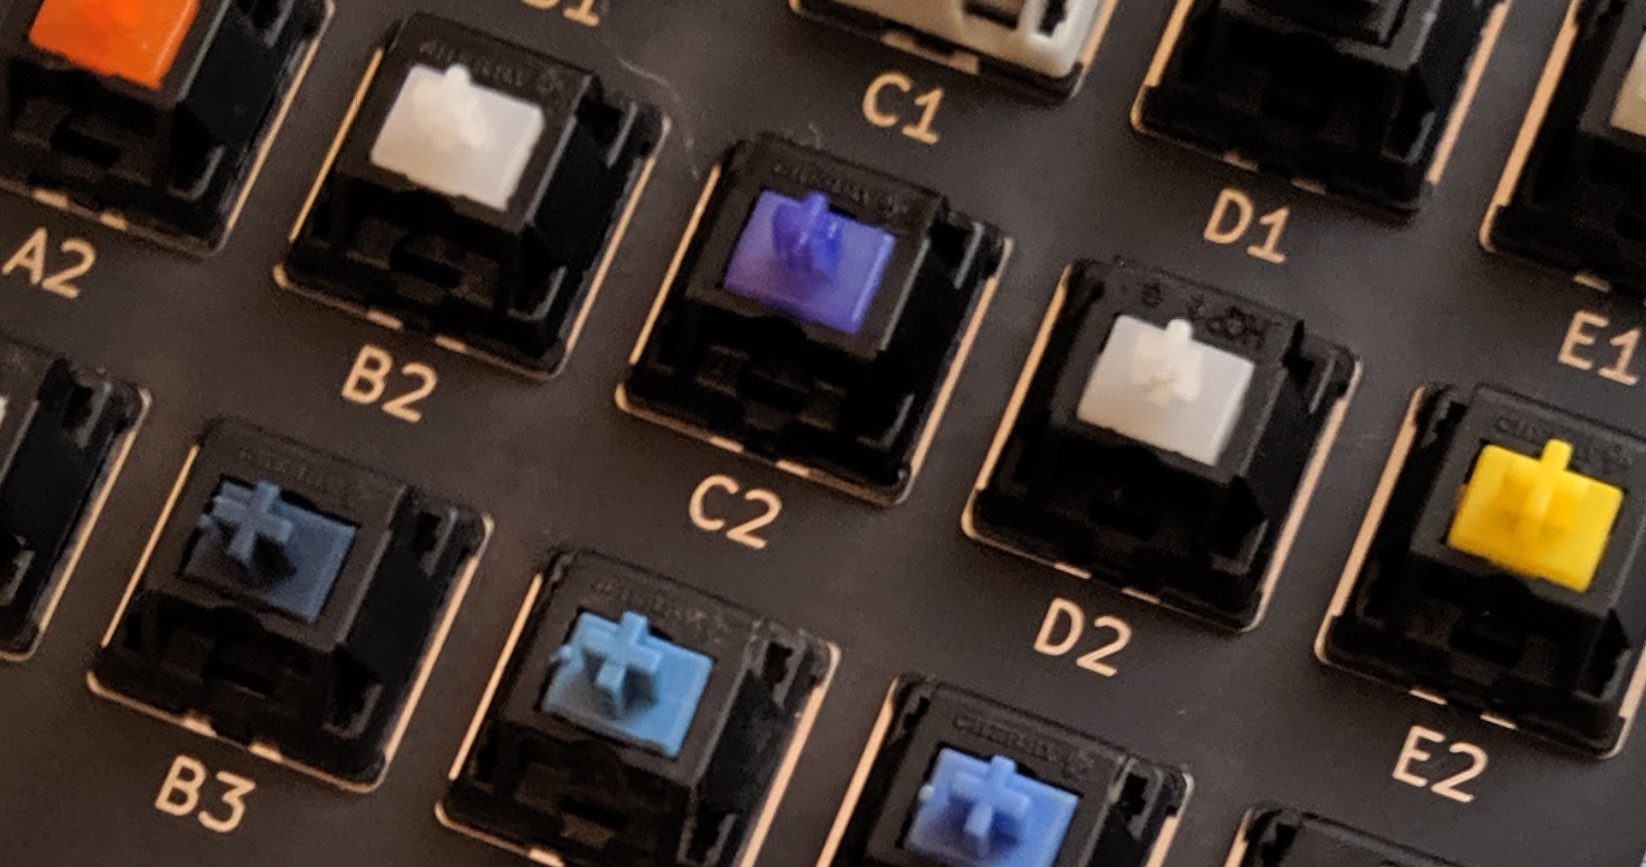
What about the red, black, brown, and blue?
If coming from pre-built mechanical keyboards, you may recognize the typical choices available for Cherry MX switches - red lightweight linear, black heavyweight linear, brown tactile, and blue clicky.
However, there are hundreds if not thousands of switches out there in the custom keyboard world - most pick colors purely for aesthetics, breaking the trend of being able to determine feel from a switch’s look.
This also means that there’s seemingly infinitely many plastic materials, switch geometries, and unique features to try and pair with your new custom keyboard - if one switch just doesn’t sound or feel right in your build, keep in mind that there may be better matches out there to explore.
If you’re either new to custom keyboards or new to mechanical keyboards altogether, I highly recommend giving a high-quality linear switch a try - it can be life-changing to have an un-broken buttery-smooth keypress with every keystroke.
Beyond the colors
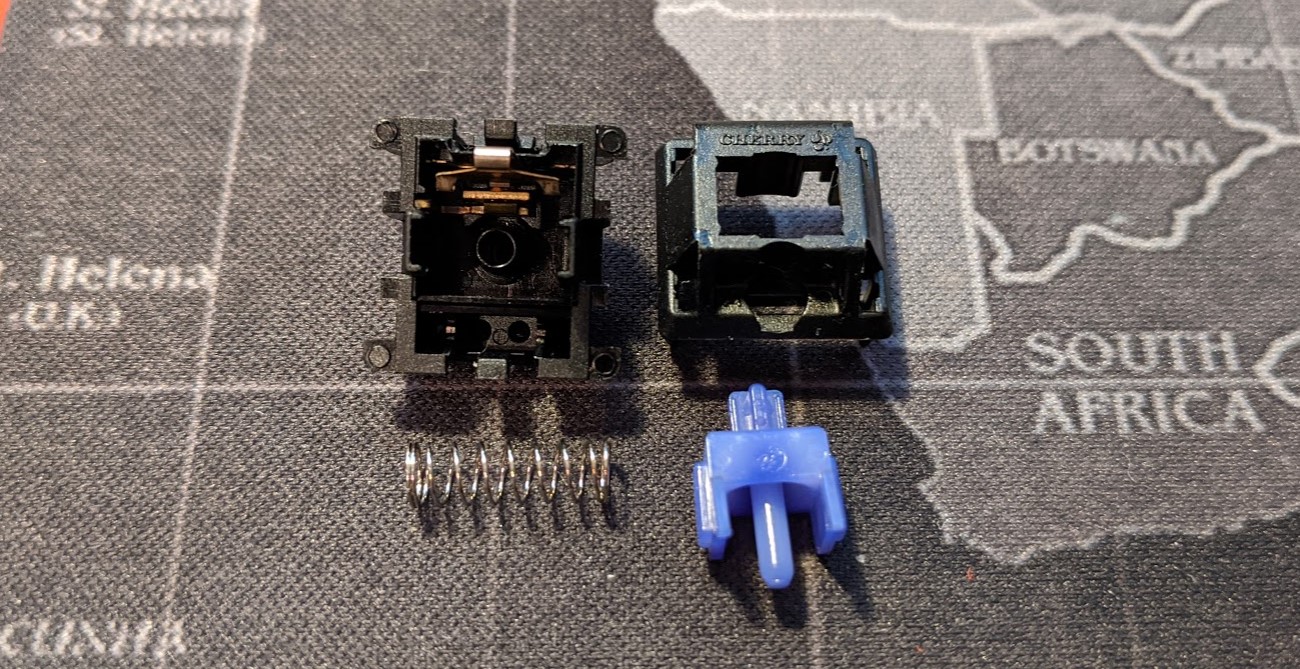
Beyond just buying switches and using them, there’s a whole world of taking switches apart and modding them - this can be a crucial step to dialing in your custom keyboard exactly as you see fit.
-
Spring swap - Like how a switch feels and sounds, but a bit too light or heavy for your preferences? Simply buy a pack of springs, and swap in the new springs to the existing switches.
Different springs are also coiled in different ways, leading to different feel altogether if desired. -
Lube - By adding lubricating oil or grease between the moving parts of a switch, you can make switches even smoother than they come out of the box.
In addition, this can cause springs to stop resonating or plastic parts to vibrate differently on impacts, changing the typing sound - usually vastly for the better. -
Frankenswitches - Become a mad scientist and mix parts from differing switches. This can yield brand new combinations that were unknown before.
There’s plenty of other tweaks and tricks out there to explore - combined with the sheer amount of switches already available off-the-shelf, you’ll likely have no shortage of experimentation available on-hand on the switches front.
Moving the big keys
You may be curious about the large keys. Spacebars, enters, shifts, and backspaces - they are much larger than the basic alphanumeric keys, and one switch doesn’t seem like enough for any of them.
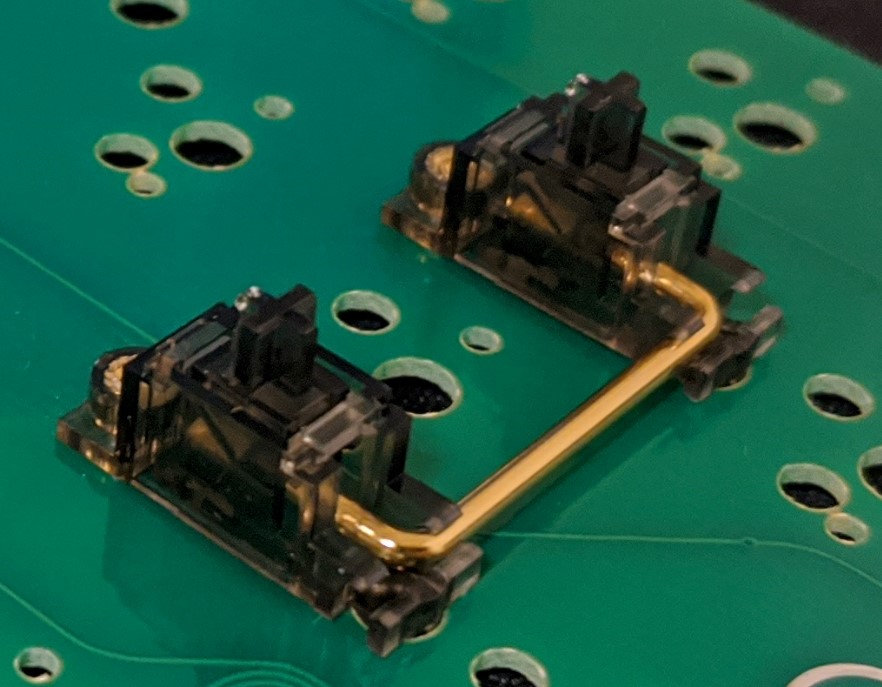
This is where stabilizers come in - these are wire contraptions which pull down each end of the key when the other end is pressed, allowing the entire key to move down at once rather than seesawing and flying off the board.
As much as the stabilizer solves problems, it also creates some of its own - the main challenge being wire rattle.
An untuned stabilizer may rattle around like a rattlesnake on keypress and ruin the typing experience; it is highly recommended to use a thick grease to control the movement of the wire.
This simple trick can make even a budget build sound vastly more premium than it is - for a quick stabilizer tuning tutorial, check here.
One thing to note is that these larger keys are measured in keycap units (denoted U), where 1U is the width of a single-unit alphanumeric cap.
2U stabilizers are used for most of the shorter keys such as shift and enter, whereas a long 6.25 or 7U stabilizer is used for the spacebar.
Liquid metal
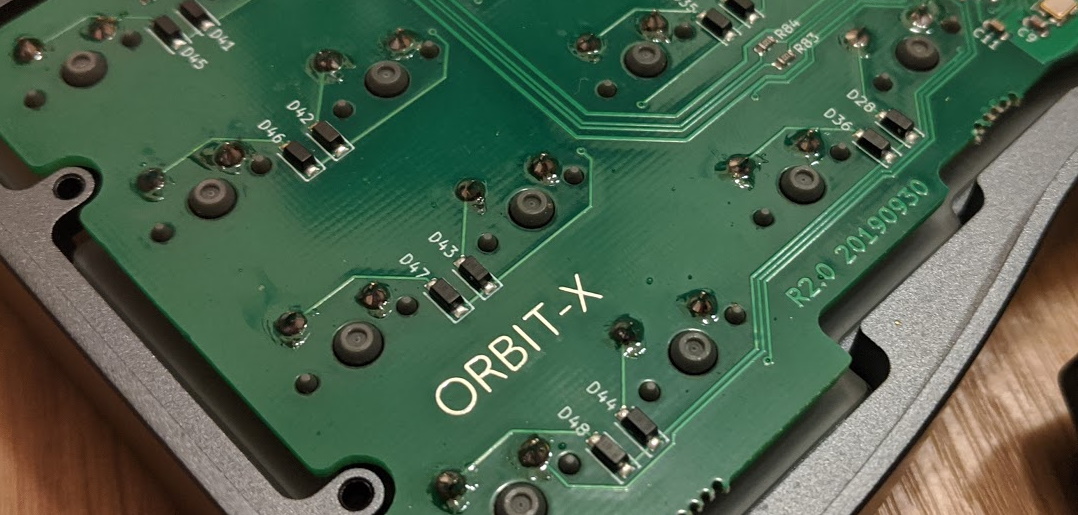
Since the switches don’t function alone, they need to be installed into a PCB (described in the earlier chapter briefly), which does all the electrical magic such as scanning the keys and sending the signals to the computer.
The connection between the switches and PCB can be done in one of two ways:
-
Soldering - A technique which uses molten metal to form a joint between the PCB and switch, anchoring them together and conducting electricity.
While some people swear by its acoustic benefits, it has mostly become an obsolete practice with the advent of hotswap PCBs which accomplish easier assembly without the risks of having to deal with metal melting at several hundred degrees. -
Hotswap - The preferred way nowadays, with the PCB having sockets to which the switches simply plug in.
This allows for safe and quick keyboard assembly, as well the ability to easily pop switches out for swapping, testing, and repairs.
Make sure to confirm which one you’re getting when purchasing a custom keyboard kit - if you’re going with a solderable PCB, you’ll need a soldering iron and similar tools.
Quite the switch
This concludes the brief information regarding switches - a healthy change from the previous lengthy page.
Now onto the keycaps.
Next Page