Equinox XL Build Guide
Pages
⭢ Assembly Instructions
Equinox XL Build Guide - Page 1
Thank you for your purchase!
Assembly Instructions
- Disassemble the case; remove parts from packaging.
- Assemble the internals.
A: If you are building plateless (recommended configuration):
- Solder switches onto the PCB, making sure that each one is making firm contact against the PCB surface.
- Install stabilizers.
- Mount keycaps onto each switch and check for any excessively rotated switches.
If any exist, resolder as necessary, or simply twist the switch while heating/melting the solder joints and letting them re-form.
Remove keycaps near the case screw points once done. - Plug the PCB into a computer and test functionality.
Make any soldering repairs as necessary.
B: If you are using the plate (for 3-pin switches and depending on preferences):
- Install stabilizers onto the PCB.
- Snap switches into the corner positions of the plate.
- Insert the plate-switch assembly onto the PCB.
- Install the rest of the switches onto the plate, making sure that each one is snapped in properly.
- Solder all switches, making sure that each one is making firm contact against the PCB surface. Double-check to be sure that stabilizers are installed before this step.
- Plug the PCB into a computer and test functionality.
Make any soldering repairs as necessary.
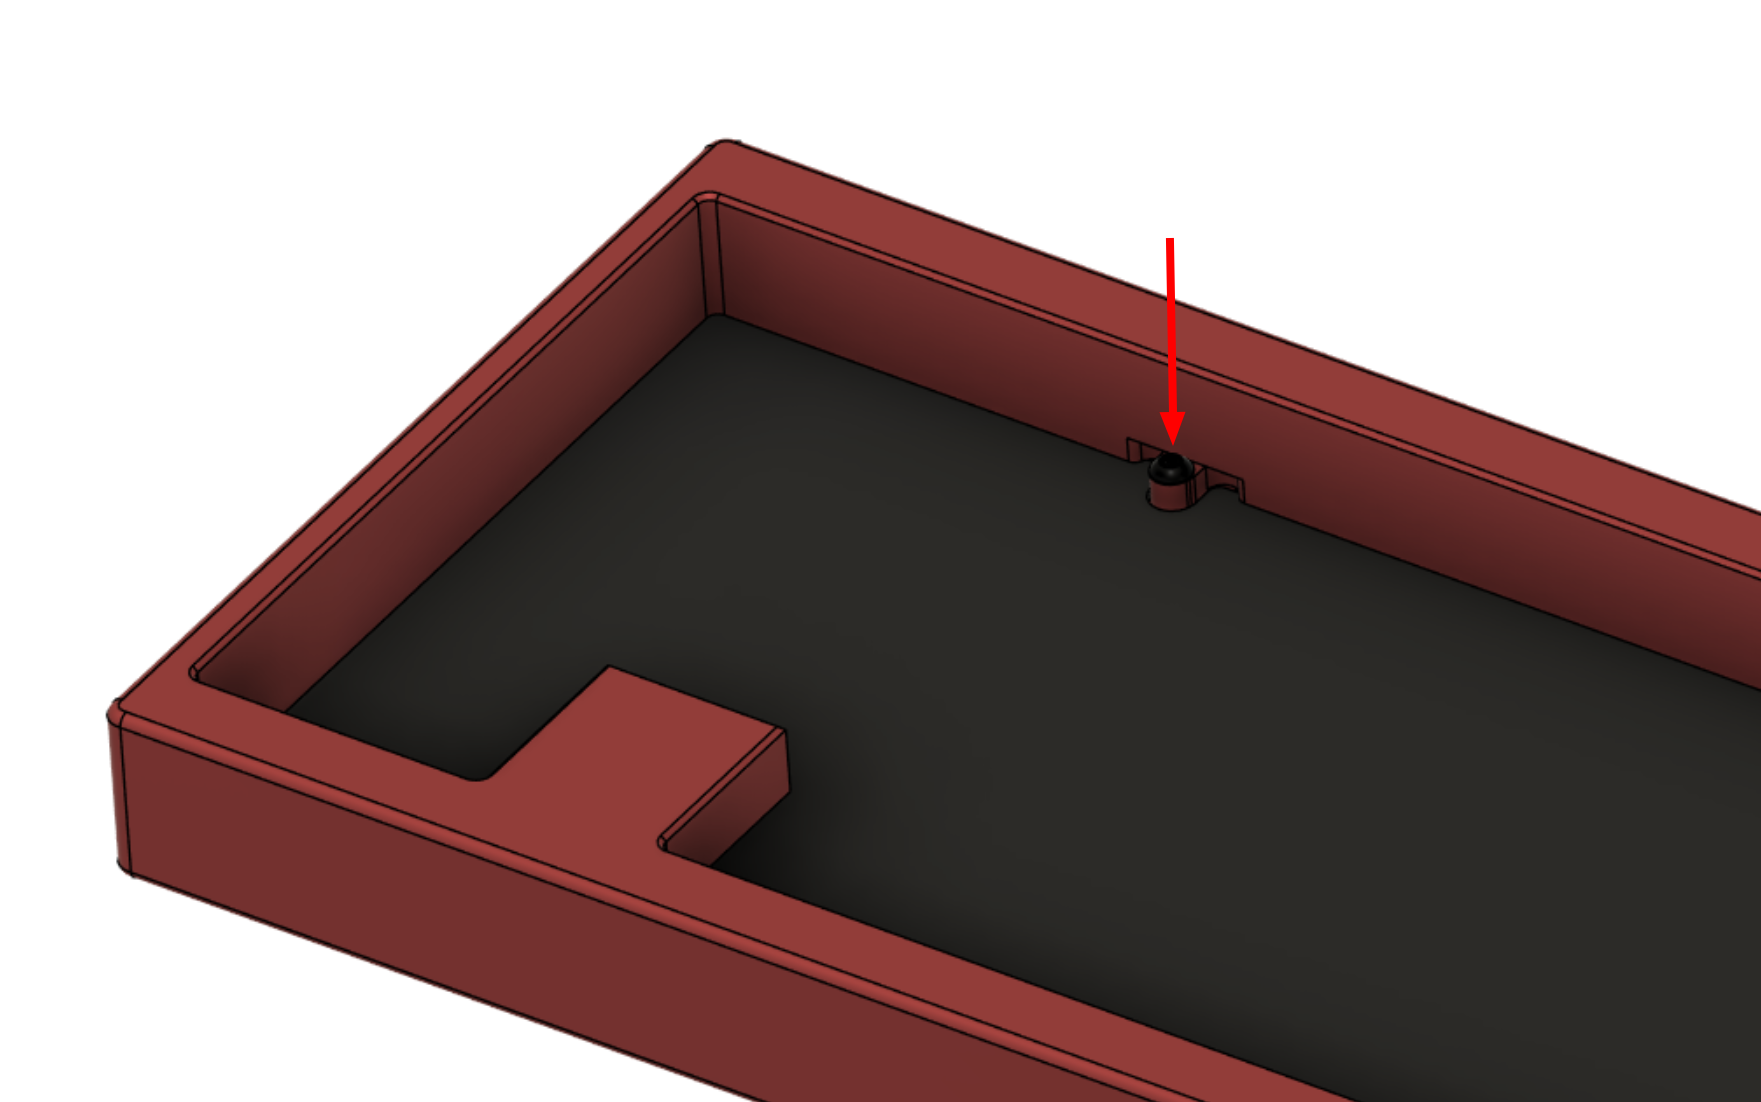
-
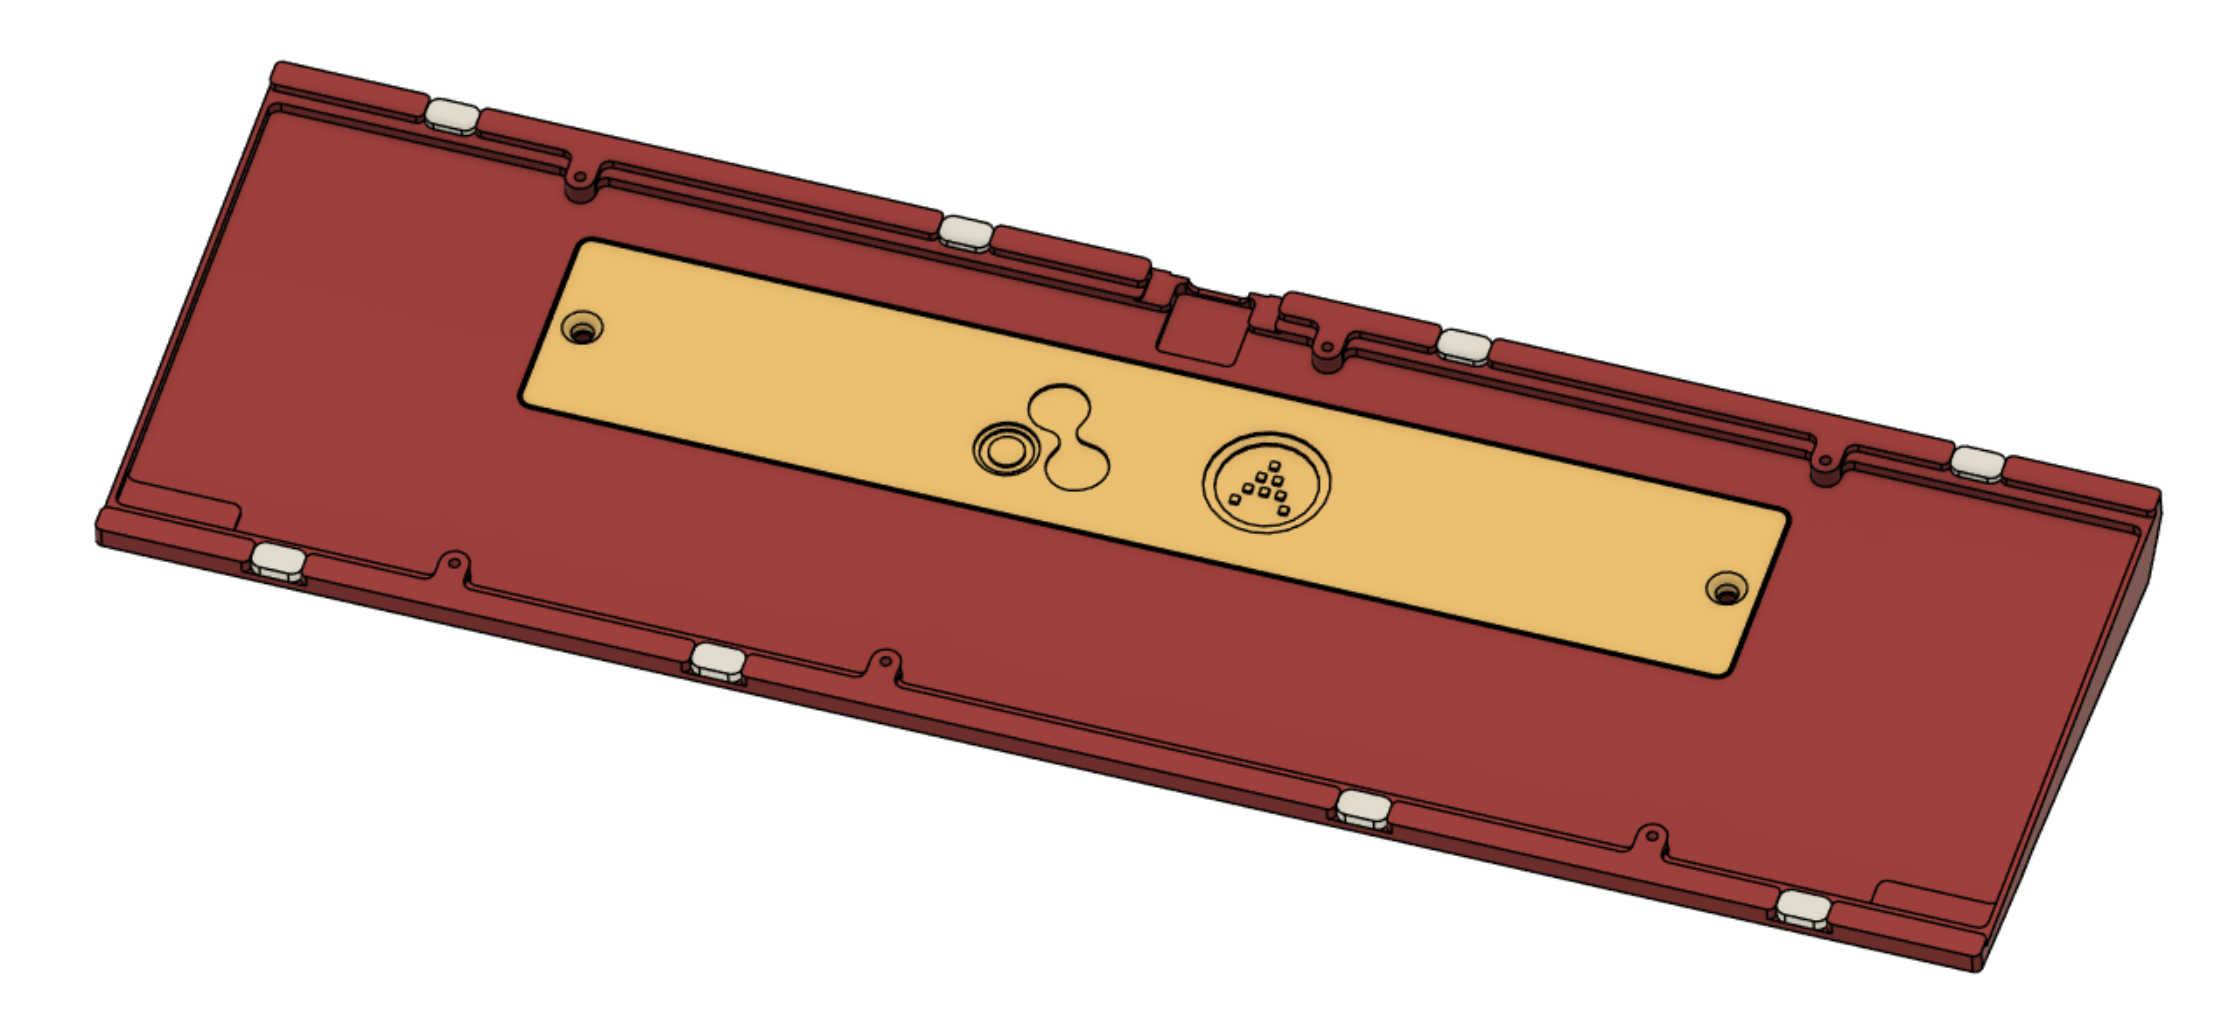
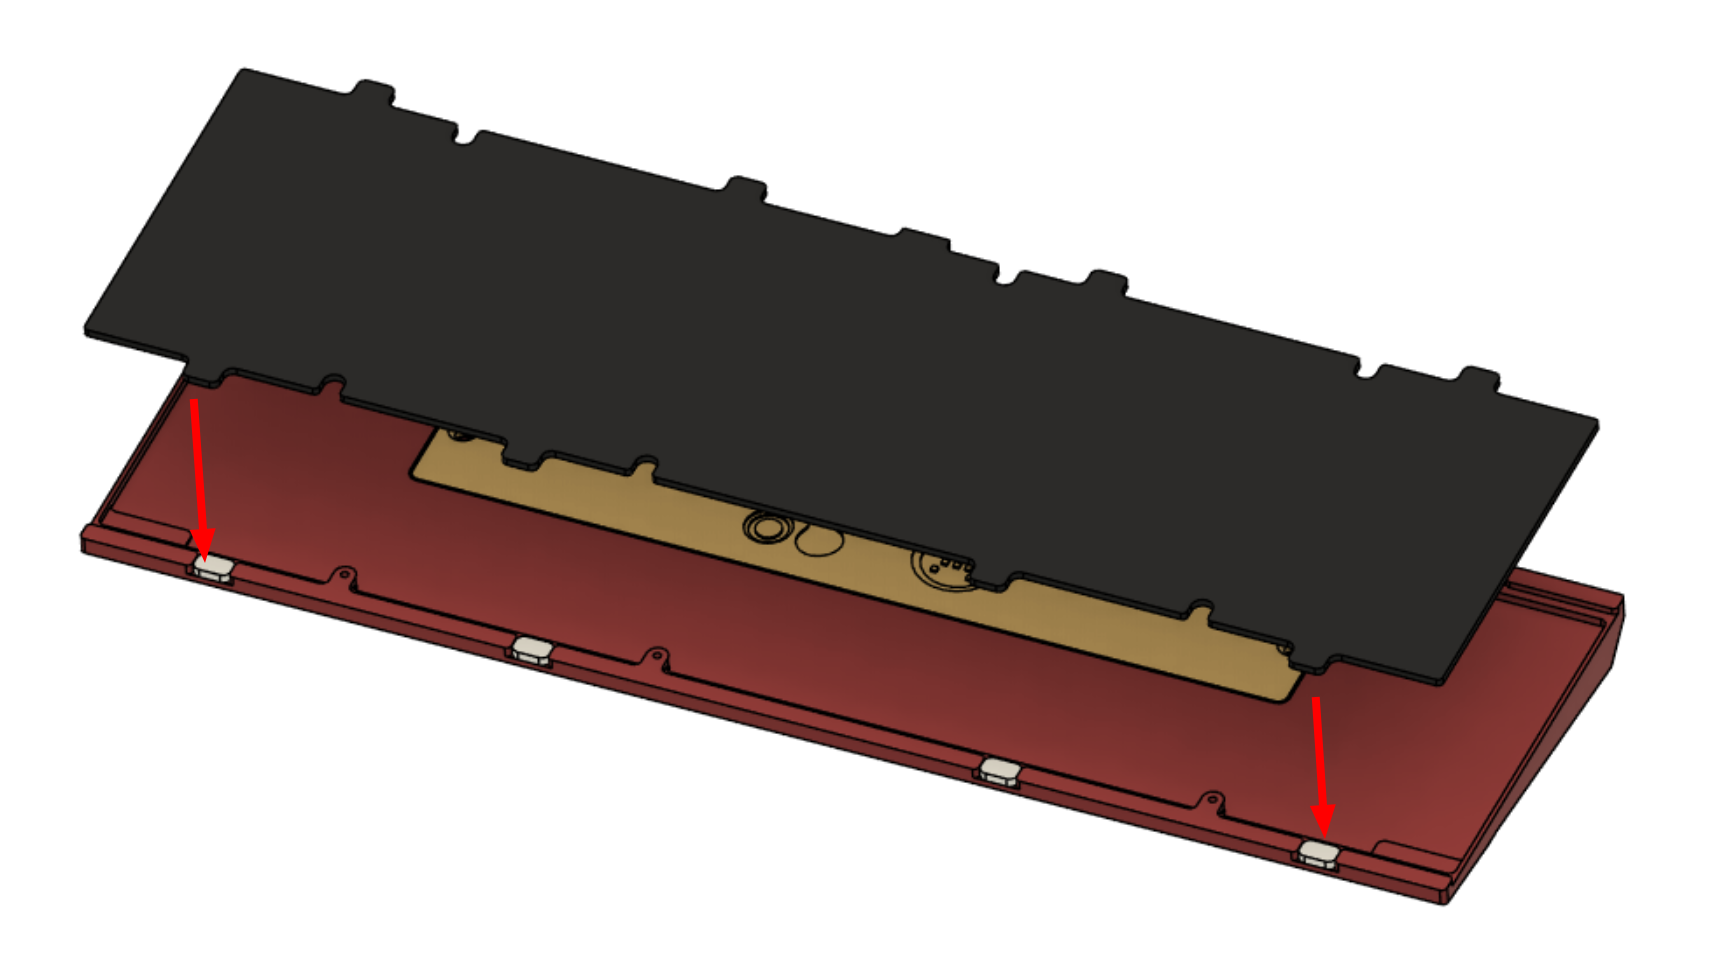
Install the gasket pads onto the case bottom half in the locations shown.

-
Lower the internals assembly (PCB, switches, optionally plate) onto the bottom, making sure the PCB tabs land onto the gasket pads in the process.
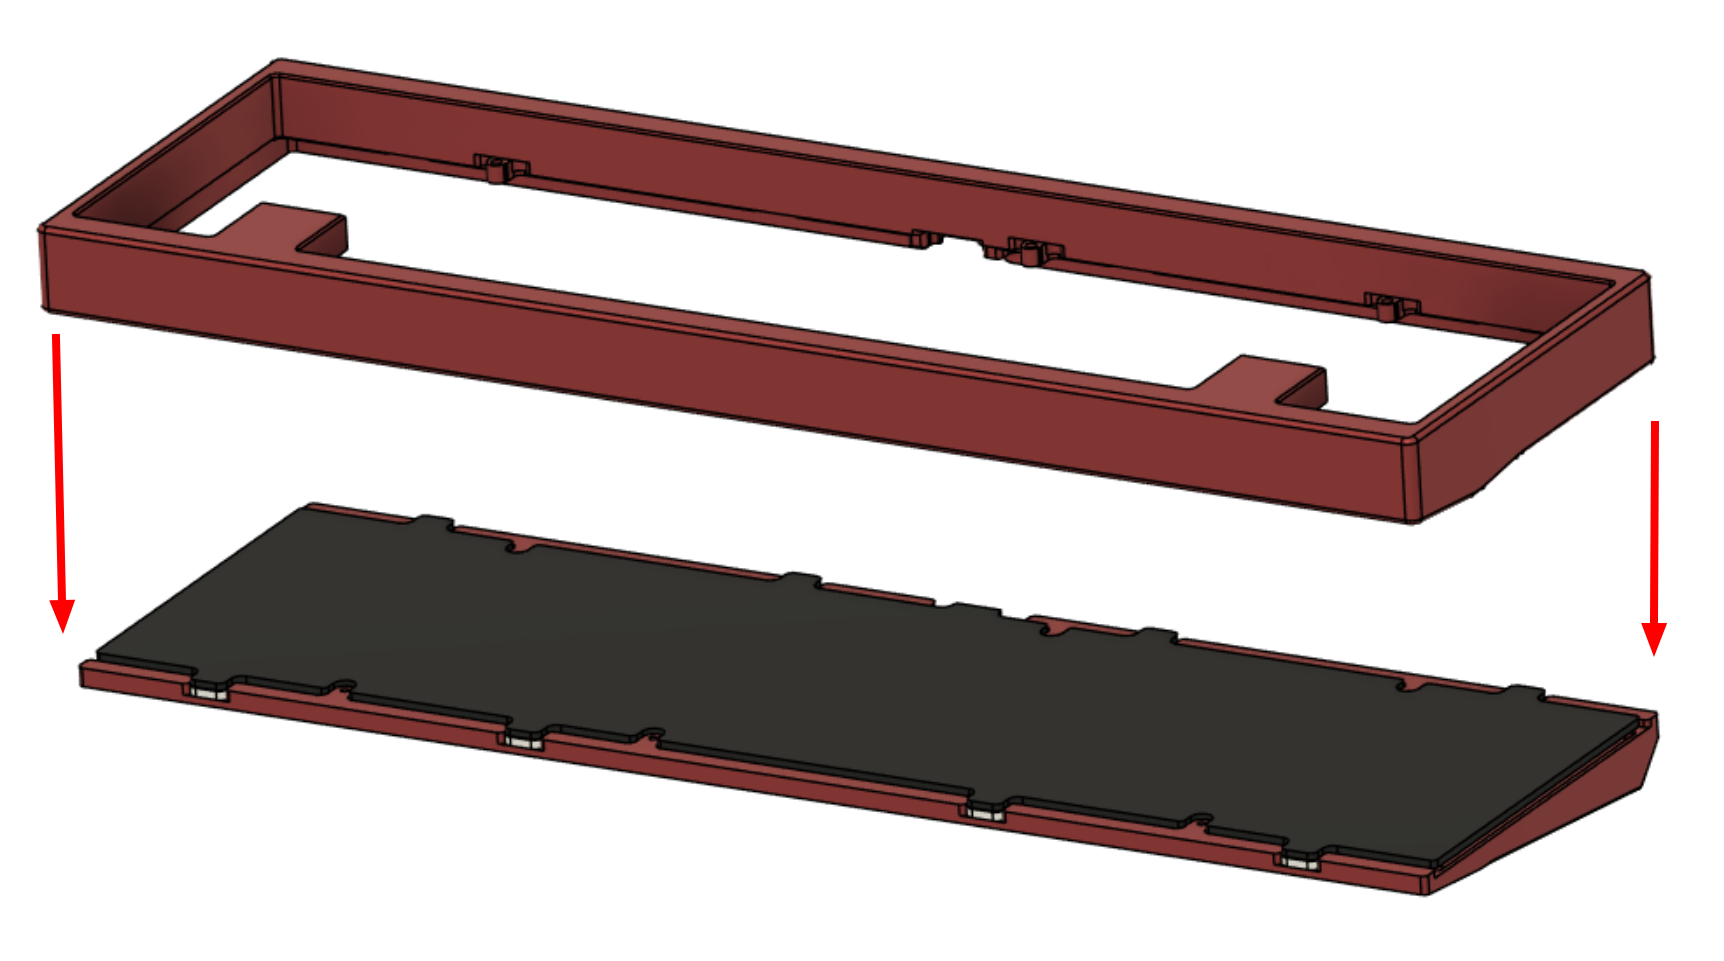
-
Lower the case top onto the assembly.
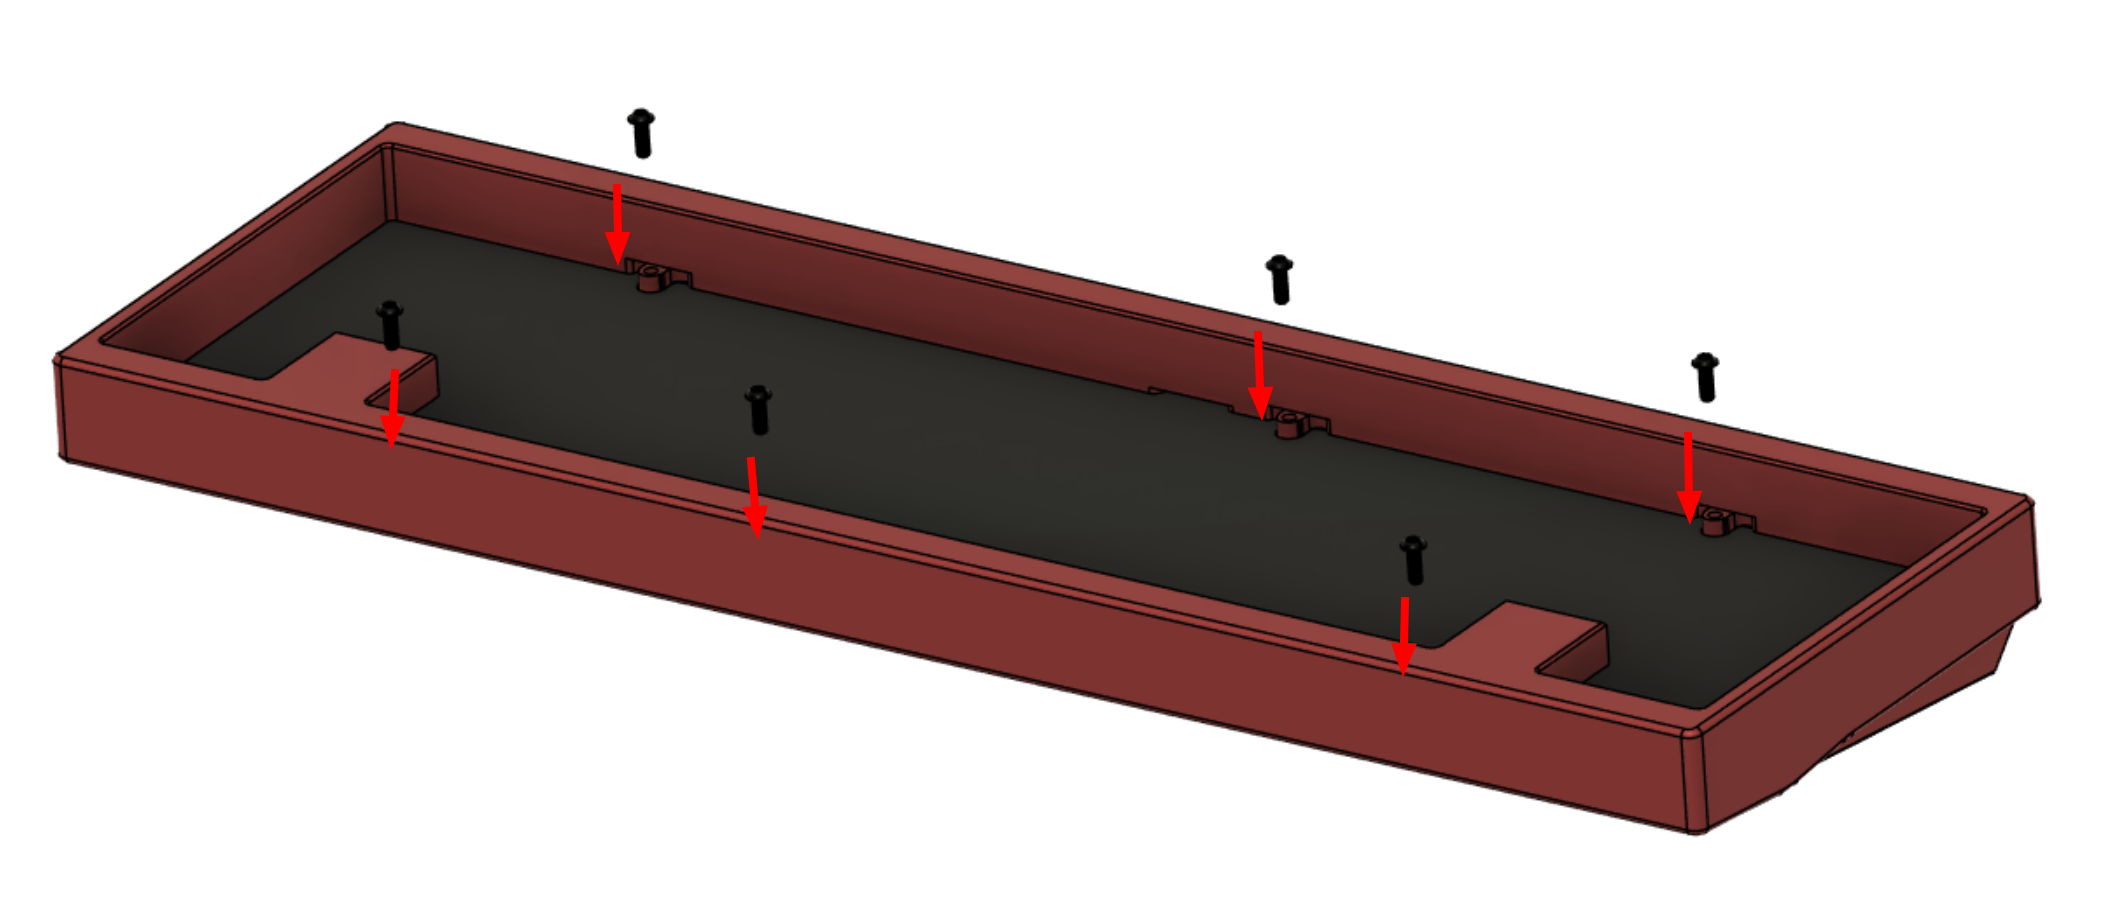
-
Install the 6 case screws from the gaps between the switches.
Take care to avoid scratching the inner walls of the case while securing the screws.
Congratulations!
You have assembled an Equinox XL.
Configuring the Keymap
Use VIA to configure the keymap.