Altair(-X) Build Guide
Pages
Altair(-X) Build Guide - Page 1
Thank you for your purchase!
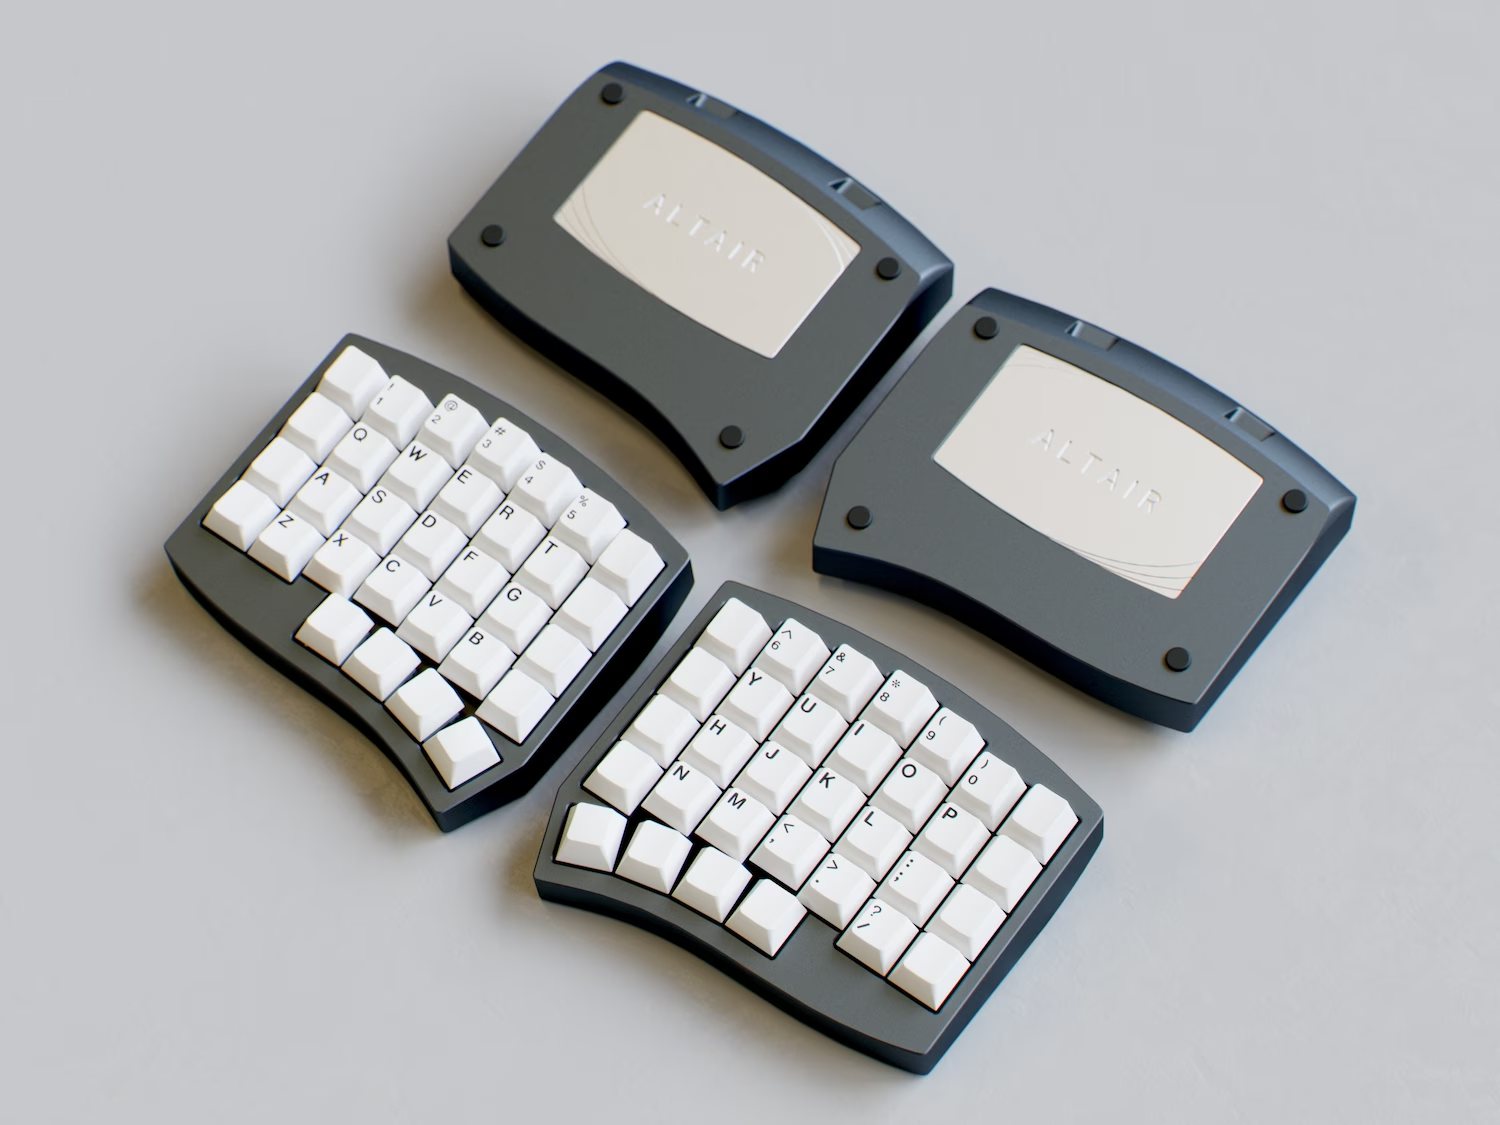
The Altair(-X) is my current culmination of my keyboard passion, combining everything I’ve learned about keyboards over the years with a third-iteration ergonomic layout.
I hope that it serves as a loyal partner and reliable tool for years to come.
To make sure that it performs as it should, it is important to assemble it correctly.
This build guide outlines the exact steps for that task.
Warning: Damage, imperfections, etc. due to disregarding the build guide instructions cannot be accounted for. We won’t be able to refund or replace parts if you decide to build it by gut instinct and mess up somewhere.
What’s in the box
- The two Altair(-X) case halves and two plates,
- A main PCB and USB PCBs/daughterboard per half,
- The screws to assemble it all together, and a hex key for installing them,
- A set of large gaskets, small gaskets, and rubber feet,
- Two flexible ribbon cables (FFCs), and a USB-C cable for connecting the halves together,
- The carrying case that packages it all,
- The piece of paper warning everyone to read the build guide.
If anything is missing, please reach out to the vendor you purchased from.
Parts and tools necessary for building
- Enough switches to cover the layout (50 for Altair-X, 64 for Altair, ideally a few spare just in case),
- Keycaps of your choice,
- A USB-C cable which follows USB spec (to connect the board to your computer),
- Zero stabilizers, which makes the build substantially simpler than a typical layout.
Before we begin
Just a few quick notices regarding some important tidbits.
-
Please refrain from wiping down the weight with strong chemicals such as 90+% isopropyl alcohol. This will ruin the matte coat and leave you with a tacky tarnishing mess.
-
When building the board and having the PCBs exposed, discharge all built-up static electricity before touching any Altair component.
- The daughterboard has ESD protection circuitry onboard; however, they are not fail-safes (e.g. it isn’t ideal to set a house on fire even if it has a powerful sprinkler system).
I recommend discharging static before use even after assembly to minimize risk of damage.
- The daughterboard has ESD protection circuitry onboard; however, they are not fail-safes (e.g. it isn’t ideal to set a house on fire even if it has a powerful sprinkler system).
-
Do not overtighten the screws, as it risks damaging the board as well as ruining acoustics with issues such as excessive resonance.
-
If using your own screwdrivers or tools rather than the ones provided, triple-check that the bit-size is correct.
An incorrect tool size (i.e. imperial vs metric) can easily destroy the screws. -
I recommend reading through the build guide once before actually carrying through with it to prevent any surprises.
You can navigate the book using the panel on the left (large screens), in the info tab (mobile), or with the links at the very bottom of the page. -
A personal recommendation: If disposing of the packaging, please recycle it according to your local regulations for the sake of the planet.
Ready?
Let’s begin.